
You’ve spot cleaned the same 20-gallon tank for the third week in a row, and it still smells faintly of ammonia by day four. That’s the moment most keepers start looking up bioactive terrarium setups, because a bioactive system is built to process waste on its own instead of relying on you to scrape it out every few days. It takes more planning up front than paper towel and reptile carpet, but once it’s cycled, it runs itself.
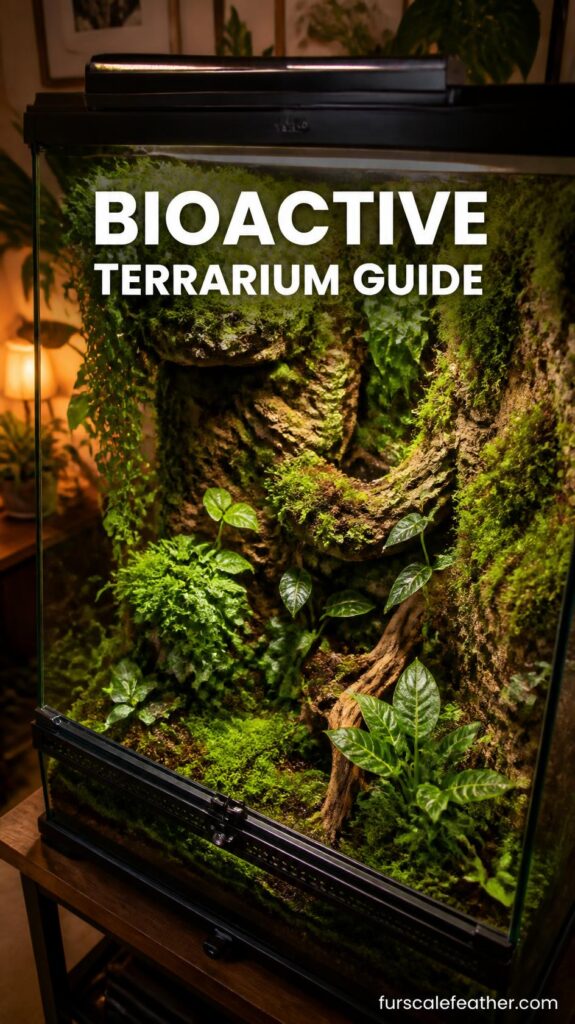
What Is a Bioactive Terrarium and Why Keepers Switch to One
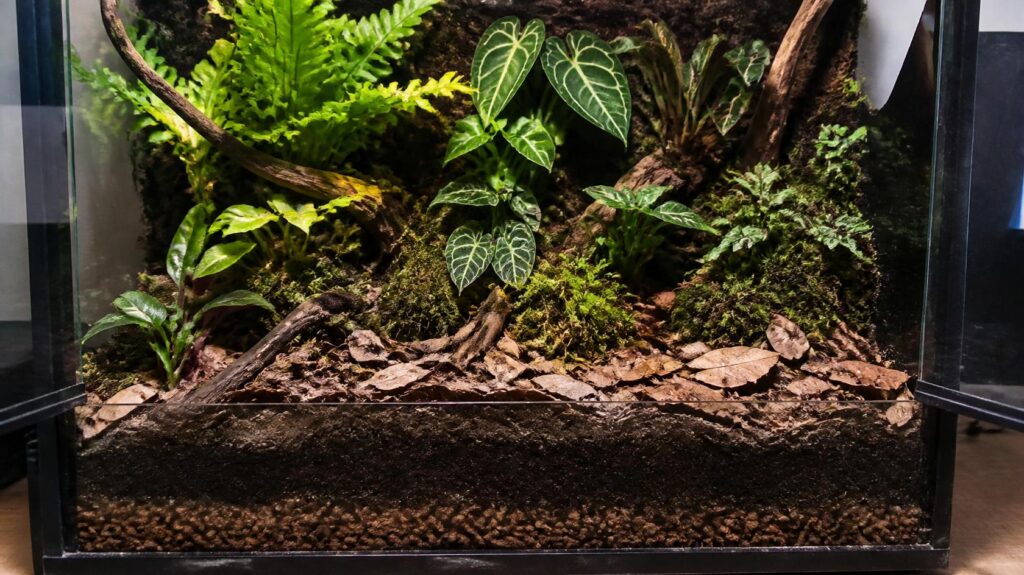
A bioactive terrarium is a closed ecosystem made up of live plants, a drainage layer, a microfauna cleanup crew, and a substrate designed to support all of it. The cleanup crew, usually isopods and springtails, breaks down waste and shed skin, while the plants absorb the nutrients that crew produces. Done correctly, you get a tank that manages its own bioload instead of one where you’re the entire filtration system.
A shelter volunteer I worked with on a reptile intake project told me the difference showed up fastest in humidity-sensitive species. Their crested geckos on standard substrate needed misting four times a day to hold 70 percent humidity. After switching two enclosures to a bioactive setup with live moss and a drainage layer, the same humidity held with two mistings, because the substrate itself was retaining and releasing moisture instead of drying out within the hour.
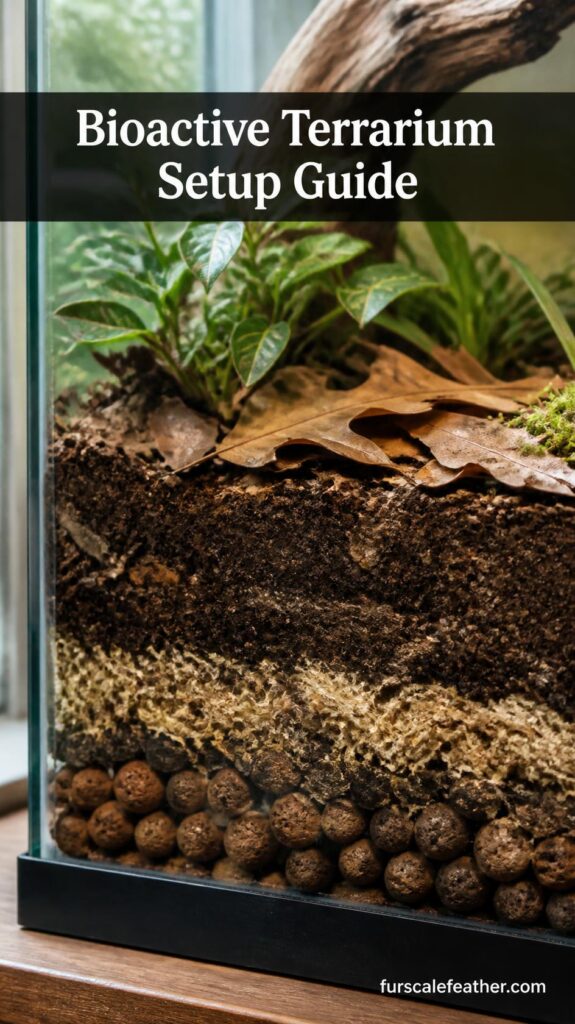
How to Create a Bioactive Terrarium: Step-by-Step Setup
This sequence works for most terrestrial and semi-arboreal reptiles and amphibians. Adjust substrate depth and plant choice for your specific species, since a desert-adapted animal needs a very different moisture profile than a tropical one.
- Step 1: Pick an enclosure with real drainage room. A glass front-opening terrarium at least 18 inches tall gives you enough vertical space for a proper drainage layer, substrate, and plant root depth. Anything shorter than 12 inches tends to compress the layers too much to work well.
- Step 2: Build the drainage layer. Add 1 to 2 inches of expanded clay pebbles (LECA) across the bottom. This gives excess water somewhere to go so the substrate above it doesn’t turn into mud.
- Step 3: Add a barrier layer. Lay a sheet of fiberglass window screen or a thin layer of landscape fabric over the LECA. This stops substrate from washing down into your drainage layer and clogging it over time.
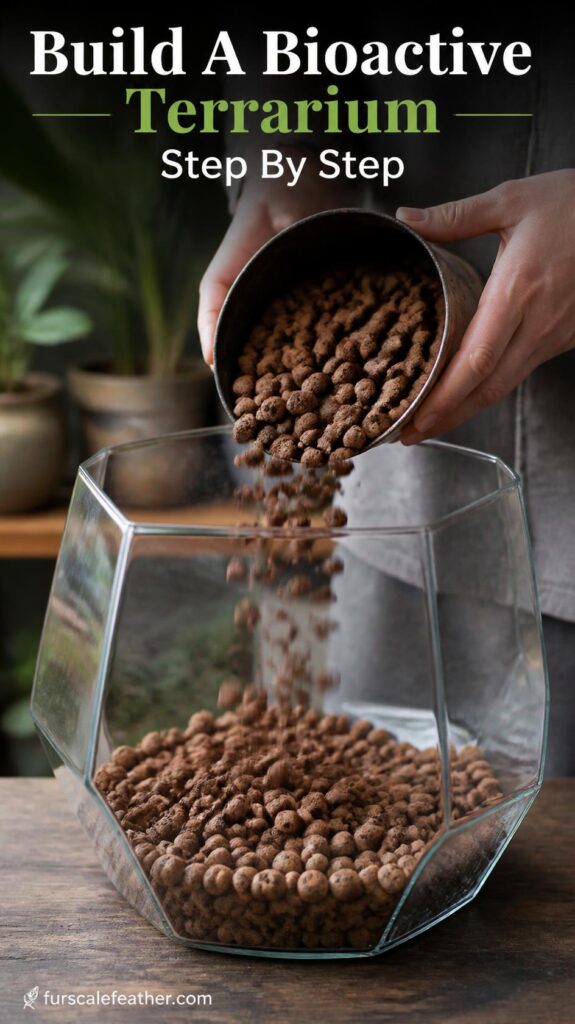
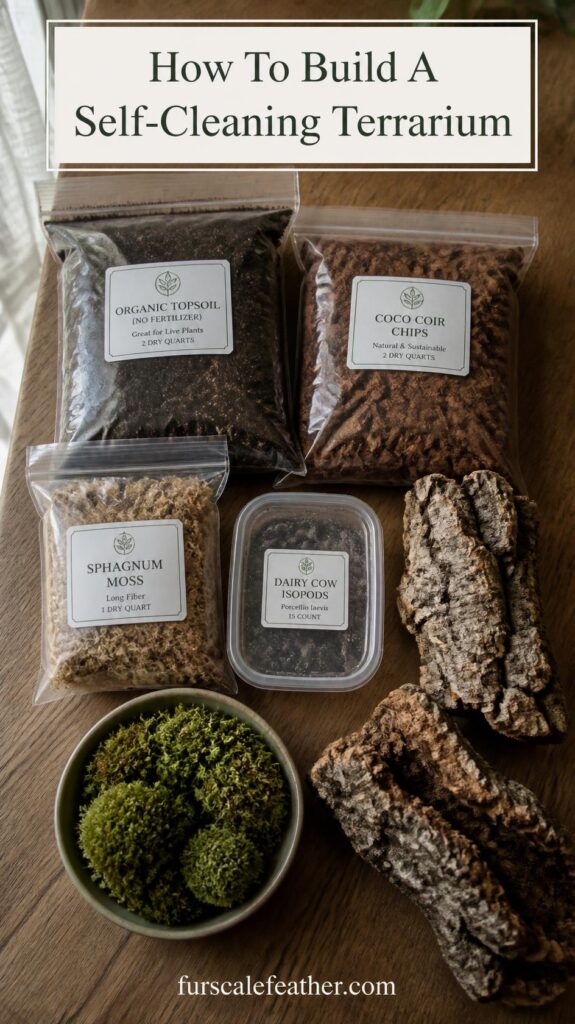
- Step 4: Add your bioactive substrate mix. Pour in 3 to 4 inches of a substrate blend containing organic topsoil, coconut fiber, sphagnum moss, and sand or clay depending on your species’ native habitat. This layer is where your cleanup crew will live and where plant roots will establish.
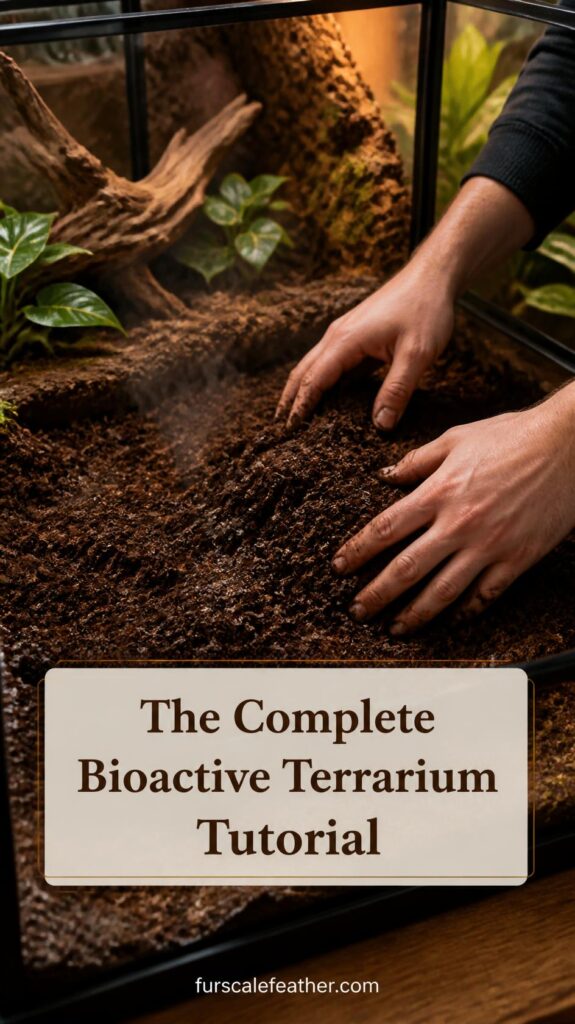
- Step 5: Add leaf litter and hardscape. Scatter a layer of dried leaf litter, oak or magnolia work well, across the surface. Add cork bark, driftwood, or stone hides. Leaf litter isn’t decorative here, it’s food and shelter for your cleanup crew.
- Step 6: Plant your live plants. Choose species suited to your enclosure’s light and humidity, such as pothos, snake plant, creeping fig, or moss. Bury root balls into the substrate layer, not the drainage layer.
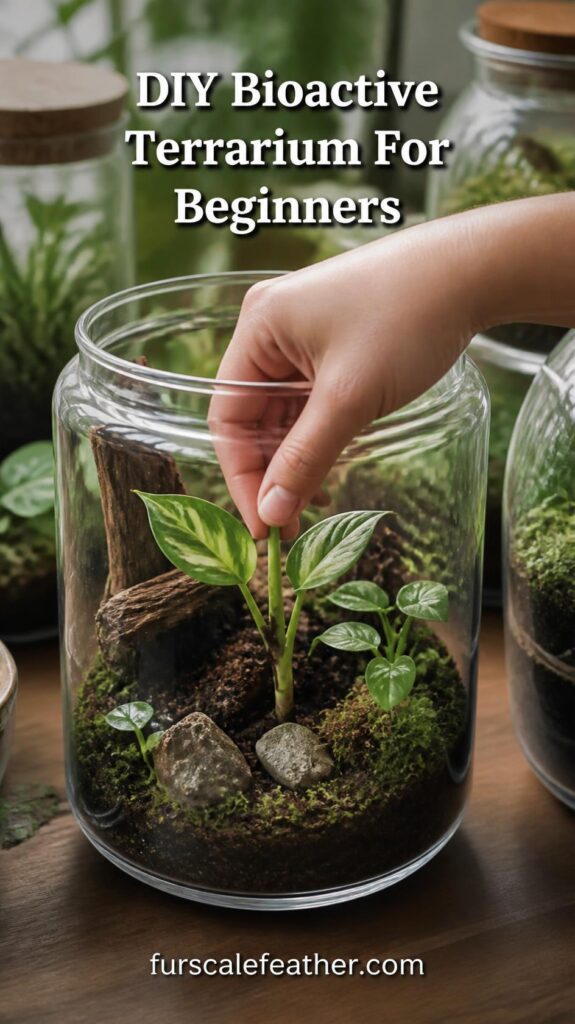
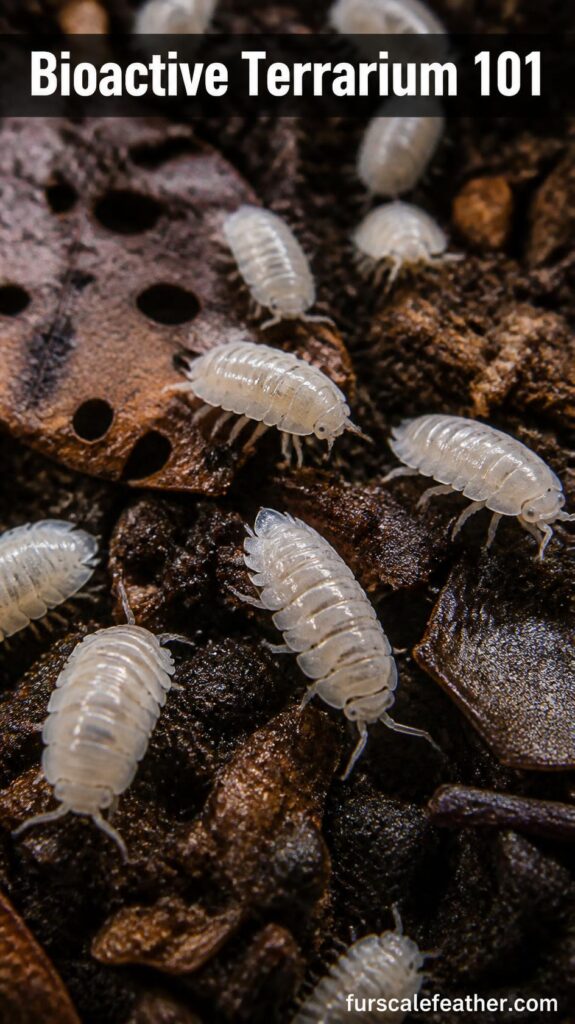
- Step 7: Introduce your cleanup crew. Add springtails first, let them establish for about a week, then add isopods. A 20-gallon enclosure typically supports 50 to 100 isopods and a springtail culture of similar density to start.
- Step 8: Cycle the terrarium before adding your pet. Run the enclosure empty, misted, and lit for 4 to 6 weeks. This gives plant roots time to establish and the cleanup crew time to multiply before they have a bioload to manage.
Best Products for a Bioactive Terrarium Build
I haven’t personally tested every product on this list, since my own reptile experience comes from managing product intake and return data at the shop rather than keeping the animals myself. What follows is based on aggregated customer feedback from repeat buyers, independent hobbyist lab comparisons, and manufacturer testing data where available.
Substrate
- The Bio Dude Terra Firma — Pre-mixed and ready to use, holds humidity well according to customer moisture-meter readings shared with us, more expensive per gallon than mixing your own.
- Zoo Med ReptiSoil — Budget-friendly, widely available, but customers report it needs supplemental coconut fiber for species needing higher humidity retention.
- Josh’s Frogs BioBedding — Species-specific blends, which cuts down on guesswork, though shipping weight makes it costlier for large enclosures.
Recommended winner: The Bio Dude Terra Firma, based on the volume of repeat purchases we’ve tracked and consistently positive humidity-retention feedback, even though it costs more upfront.
Cleanup Crew
- Dwarf White Isopods — Fast breeders, tolerate a wide humidity range, good starter species for beginners.
- Powder Orange Isopods — Slightly more humidity-sensitive but more visible against dark substrate, which some keepers prefer for monitoring activity.
- Springtail cultures (any reputable supplier) — Essential regardless of isopod choice, since they handle mold and fungus that isopods alone won’t fully manage.
Recommended winner: Dwarf White Isopods for anyone building their first bioactive terrarium, because their tolerance range forgives early mistakes in humidity control.
Plants
- Pothos — Nearly impossible to kill, tolerates low light, grows fast enough to establish before your pet is introduced.
- Creeping Fig — Attractive climbing habit but needs more consistent moisture than pothos to thrive.
- Java Moss or Sheet Moss — Great ground cover and humidity retention, but slower to establish, often taking 6 to 8 weeks to fully carpet.
Common Mistakes to Avoid
A client who came into the shop after her bioactive setup failed twice told me the second attempt collapsed because she added her leopard gecko only 10 days after planting, before the substrate had cycled at all. The plants hadn’t rooted, the isopod population hadn’t built up, and the substrate compacted into a solid, waterlogged layer within two weeks. We rebuilt the enclosure and had her wait the full 6 weeks on the second attempt, and it held stable humidity and a visibly active cleanup crew population by week 5.
My own mistake came from the retail side, not the reptile side. Early on, we recommended a substrate mix without checking whether it contained added fertilizer. A customer’s cleanup crew died off within days, because the fertilizer concentration was toxic to isopods at that volume. We changed our vetting process after that, and now every substrate we stock gets checked against its full ingredient list before it goes on the shelf.
Other frequent mistakes worth watching for:
- Skipping the barrier layer, which lets substrate clog the drainage layer within a few months.
- Adding too few isopods to start, which slows the cleanup crew’s ability to keep pace with waste.
- Using tap water with heavy chlorine or chloramine, which can harm your cleanup crew and beneficial microbes.
- Choosing plants that need more light than your enclosure’s fixture provides, leading to slow die-off that isn’t obvious until root rot sets in.
How Long Before You Can Add Your Pet
Plan on a minimum cycling period of 4 to 6 weeks from the day you finish planting. During this window, keep humidity and temperature at the levels your target species needs, so the plants and cleanup crew acclimate to the same conditions your pet will eventually live in. Watch for early signs the system is working: new plant growth, isopods visible near the surface at night, and a soil surface that no longer smells sour or ammonia-heavy.
Questions People Usually Ask
Do I need a UVB light for a bioactive terrarium? Live plants need light to survive regardless of your pet’s UVB requirements, so most builds use a full-spectrum plant light alongside any UVB bulb your reptile species needs.
Can I use a bioactive setup for a snake? Yes, though burrowing species may disturb plant roots more than lizards or amphibians will, so choose hardier, deep-rooted plants like pothos or snake plant for snake enclosures.
Will the smell go away completely? A properly cycled bioactive terrarium should have an earthy, forest-floor smell, not an ammonia smell. If ammonia persists past the cycling period, the bioload is likely outpacing your cleanup crew population.
How often do I need to replace the substrate? A well-maintained bioactive substrate can last a year or more without full replacement, since the cleanup crew and plants are continuously processing waste rather than letting it accumulate.
What if my isopods disappear after a few weeks? This usually points to substrate that’s too dry, too wet, or contaminated with fertilizer or pesticide residue. Check moisture levels first, then review your substrate’s ingredient list against known safe blends.
A Note on Health Concerns
If your pet shows signs of illness after being introduced to a new enclosure, including lethargy, appetite loss, or skin irritation, don’t try to diagnose it against terrarium changes alone. Consult a reptile-experienced veterinarian, and the Association of Reptile and Amphibian Veterinarians maintains a directory to help you find one near you.
Final Takeaway
A bioactive terrarium takes more setup time than a basic tank, but it pays that time back every week you’re not scraping out substrate or fighting ammonia smell. Build your layers in order, choose a cleanup crew suited to your species, and give the whole system 4 to 6 weeks to establish before your pet moves in. If your first attempt struggles, check moisture levels and substrate ingredients before assuming the whole method failed. Most collapsed setups trace back to one of those two issues rather than the bioactive approach itself.
Disclosure: Product recommendations above are based on aggregated customer feedback and publicly available manufacturer data. This article contains no paid or sponsored placements at the time of writing.