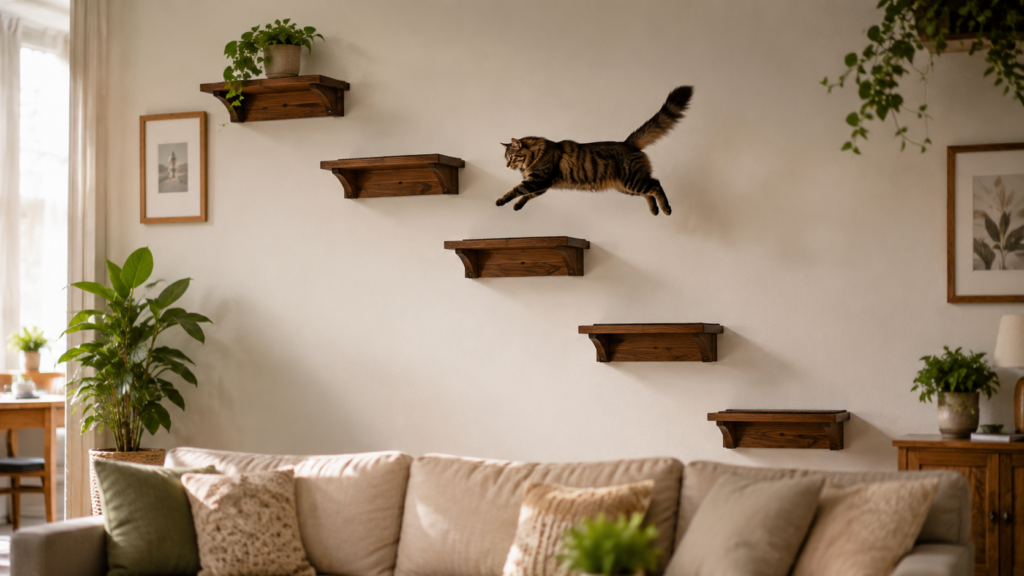

My cat Mimi used to treat my bookshelf like a personal staircase. She’d launch off the armrest, land on the second shelf, and knock a framed photo onto the floor on her way to the top. I didn’t want to spend two hundred dollars on a carpeted tower that would clash with my living room, so I started building DIY cat wall shelves instead. One weekend and five shelves later, she had her own route across the wall, and three different guests have asked me where I bought the set.
The first shelf I hung came loose within a week because I used plastic drywall anchors instead of finding a stud, and Mimi fell about a foot onto the couch below. She was fine, but it taught me exactly what to check before mounting anything a cat will run and jump on. Here are the five designs that worked for us, along with the materials, spacing, and mounting steps I used to get them level, sturdy, and good looking enough that people assume I hired someone.
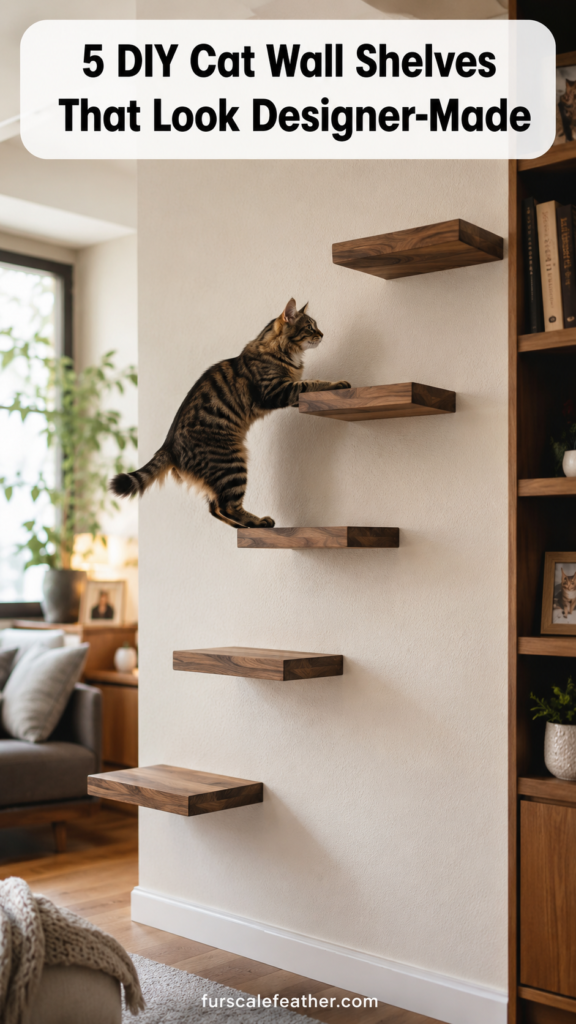
What You Need Before You Build DIY Cat Wall Shelves
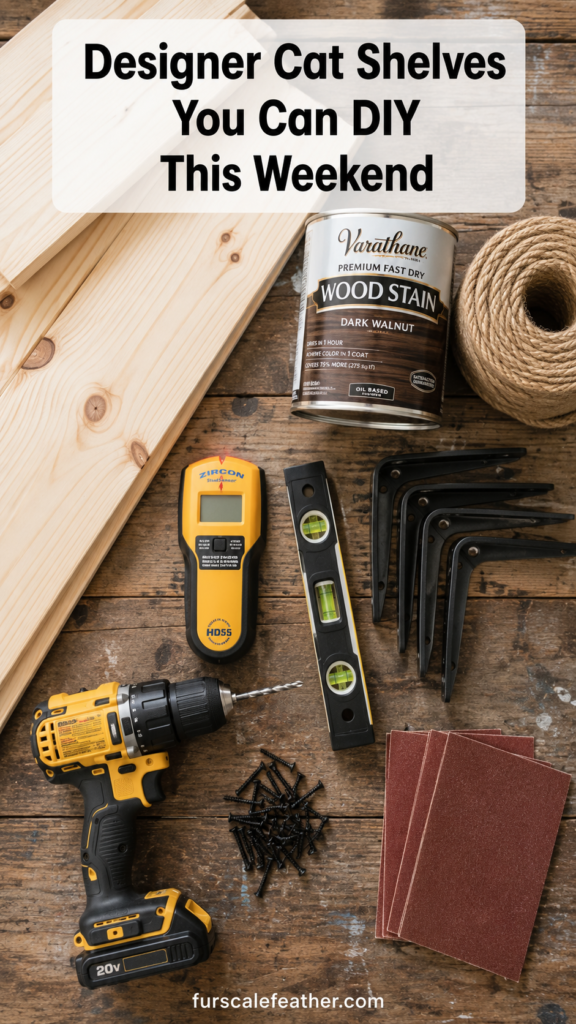
Tools and Materials
- Pine or poplar boards, 1×10 or 1×12, cut to 16 to 24 inches long
- Wood stain or paint in your chosen finish
- Natural sisal rope, 4mm diameter, for scratch texture on select shelves (about 6 to 10 feet per shelf)
- Wall brackets rated for at least 50 pounds per mounting point
- Stud finder, level, drill, wood screws, sandpaper in 150 and 220 grit
- Wood glue and clamps if you’re adding a carpet or sisal wrap
- A remnant of low-pile outdoor carpet for one perch shelf
How Much Weight Your Shelves Actually Need to Hold
An adult cat weighs 8 to 12 pounds standing still, but a cat landing from a jump puts down far more force for a split second, sometimes several times its resting weight. Any shelf your cat will jump onto should be rated for at least 50 pounds when mounted into a wall stud, not just sized to the cat’s normal weight. I learned this the hard way after my first shelf, hung with anchors rated for 20 pounds, pulled loose the first time Mimi jumped onto it with any speed. Now every shelf goes into a stud or uses anchors rated 50 pounds or higher, and I press and pull each one by hand before Mimi is allowed near it.
5 DIY Cat Wall Shelves That Look Designer-Made
1. Floating Walnut Ledges
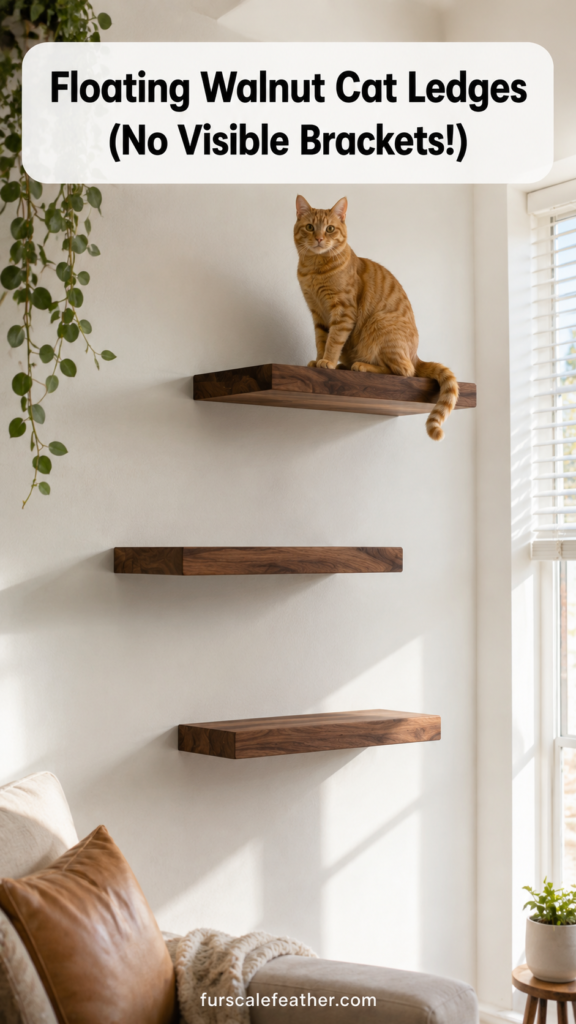
These are the shelves guests notice first. Cut a 1×10 pine board into three 18-inch lengths, sand the edges round, and finish with a walnut gel stain in two coats, allowing about 4 hours of drying time between coats. Mount them with hidden rod-style brackets that slide into a routed channel on the underside of the board, so no visible hardware breaks up the clean line. Space the three ledges in a loose diagonal, 14 inches apart vertically and 10 inches apart horizontally, so your cat can climb them like stair steps.
Time: about 3 hours for three shelves, plus overnight drying. Cost: roughly 45 dollars for wood, stain, and brackets for the full three-shelf run.
2. Corner Staircase Shelves
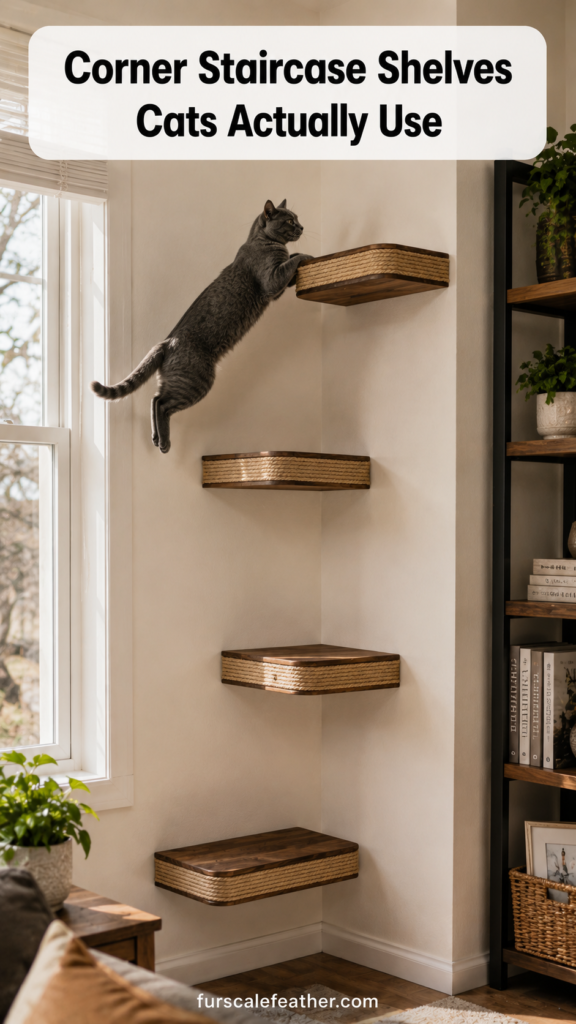
Use four shelves, 12 inches deep, mounted in a room corner so each one anchors into two walls for extra stability. Offset each shelf by 16 inches in height and 8 inches in depth from the one below it, building a spiral path up to a high perch. Wrap the front edge of each shelf in sisal rope, about 6 feet per shelf, for grip and scratch texture on the step cats use most.
This layout gets the most exercise out of any design I built. Mimi uses it as her main morning route, and I’ve counted her running the full staircase six or seven times in a single session.
3. Hidden-Bracket Minimalist Shelves
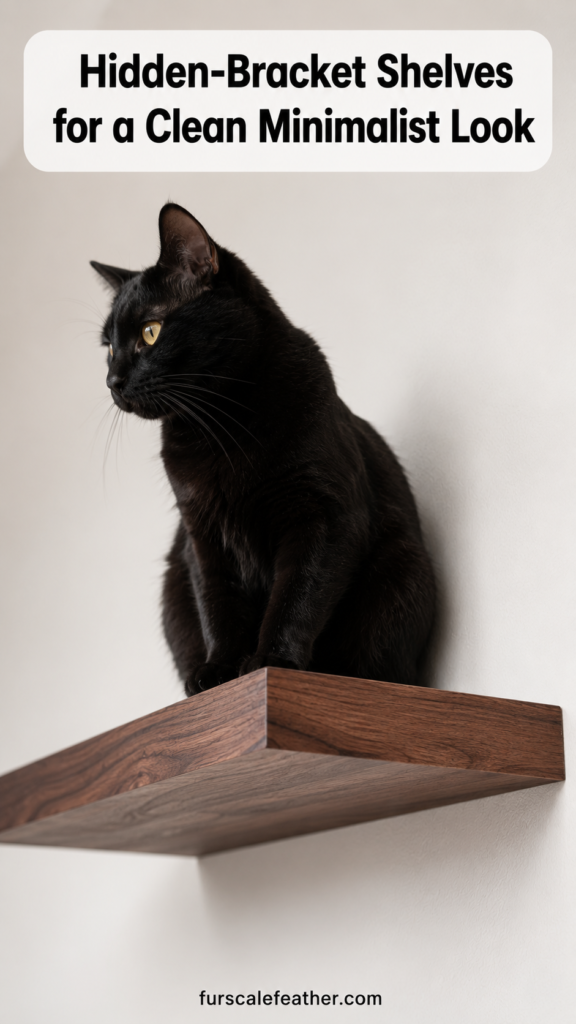
For a look with zero visible hardware, use rod-style brackets that mount directly into a stud and slide into a routed hole in the shelf itself, instead of surface-mounted L-brackets. These typically hold 50 to 65 pounds per stud when installed correctly, more than enough for a running cat. The tradeoff is precision. The routed holes need to line up within about an eighth of an inch or the shelf will sit crooked.
I borrowed a friend’s table router for this step since I don’t own one, and it was worth the extra effort for the two shelves in my front room, where visible brackets would have looked cluttered.
4. Carpet-Top Scratch Perch
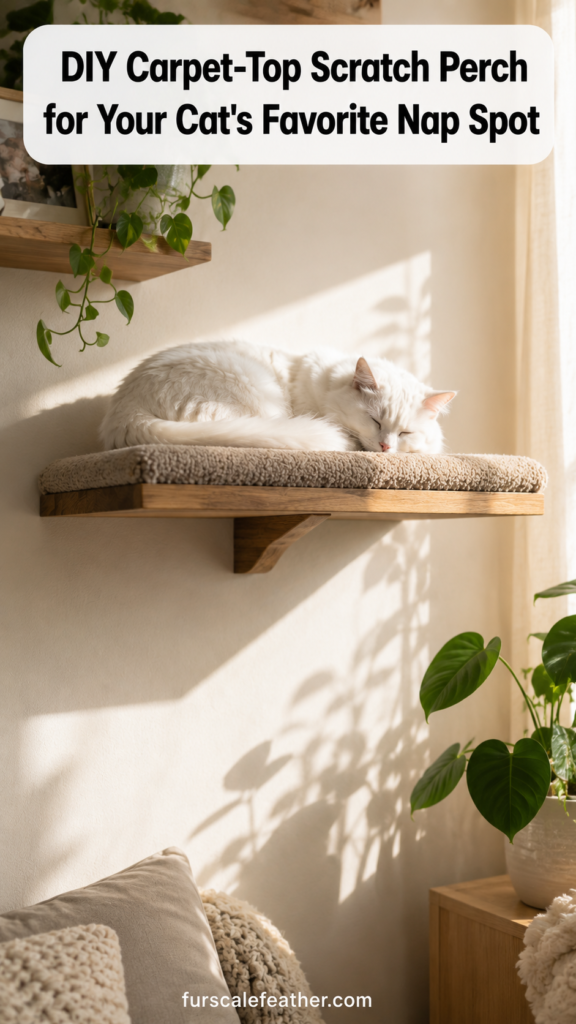
Cut a piece of plywood to 10 by 16 inches, then glue and staple a remnant of low-pile outdoor carpet to the top surface, wrapping and stapling the edges underneath. Mount this one at the highest point of your shelf route, since cats generally want their highest resting spot to have secure footing rather than bare wood.
Mimi naps on this shelf for at least an hour most afternoons, more than any other shelf in the set.
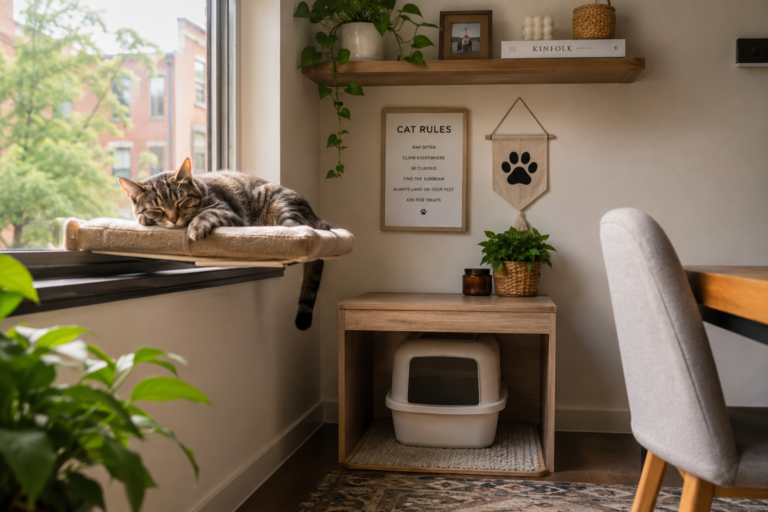
5. Window Perch Shelf With a Hammock Sling
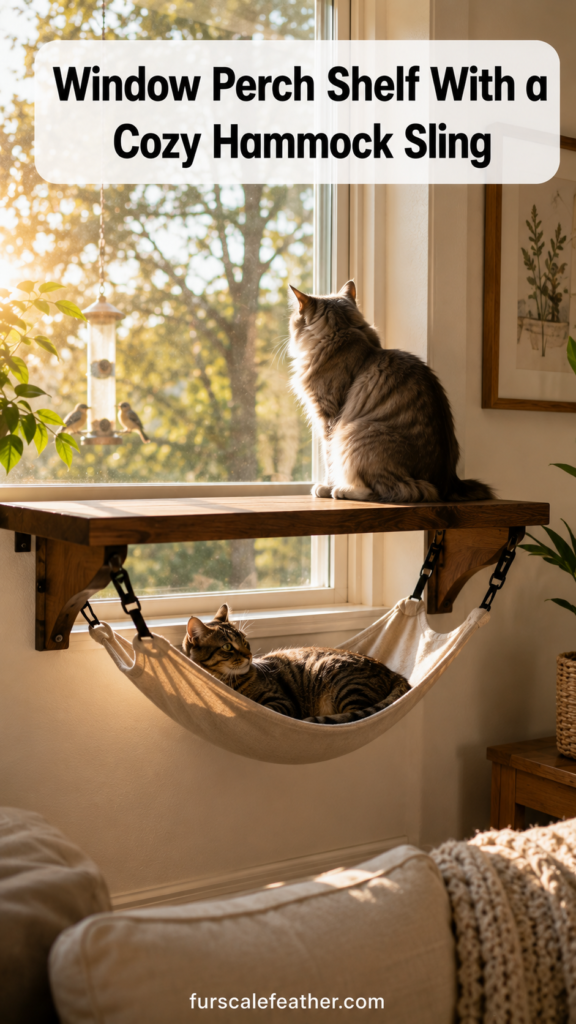
Build a wider shelf, 14 inches deep, mounted at window height using two rod-style brackets rated for the shelf’s full depth. Add a canvas hammock sling underneath by screwing two eye hooks into the studs below the shelf and stretching a canvas strip between them, giving a second lounging spot below the main perch.
This shelf gets the most daytime use of the whole set, since Mimi tracks birds and neighborhood cats from it for long stretches.
How to Install Cat Wall Shelves Safely
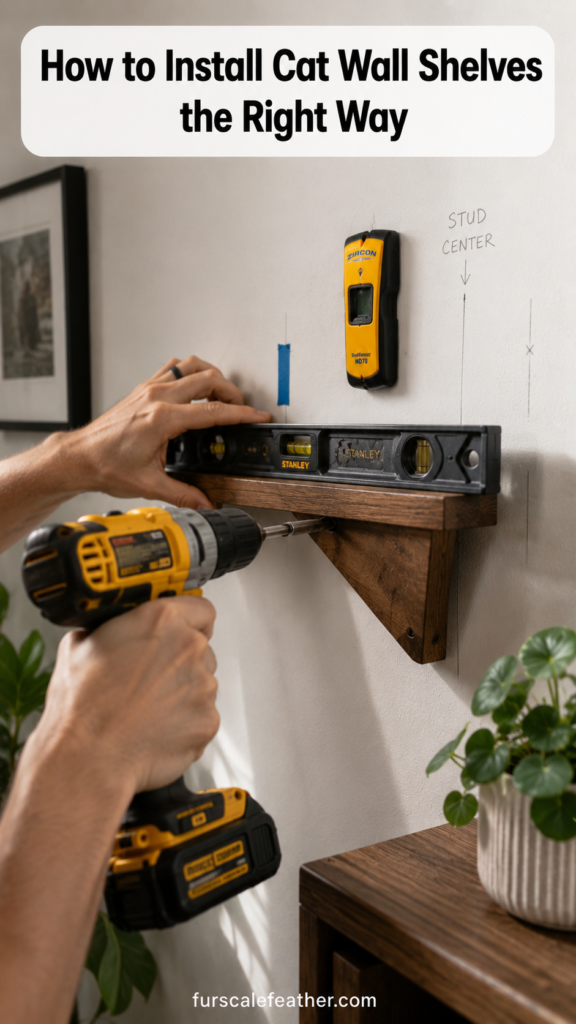
- Find your studs with a stud finder and lightly mark the center of each one in pencil.
- Plan your spacing so gaps are 12 to 18 inches apart vertically, close enough for a comfortable jump but far enough to feel like a real route instead of a single hop.
- Pre-drill pilot holes slightly smaller than your screws to stop the wood from splitting.
- Mount brackets level, checking with an actual level rather than eyeballing it, since even a small tilt becomes obvious once a cat is standing on the shelf.
- Attach the shelf to the bracket and test it yourself first, pressing down with your full body weight and pulling outward before letting your cat near it.
- Add sisal wrap, carpet, or a non-slip pad to any landing shelf so claws grip on impact instead of sliding.
- Recheck every shelf after the first month. A cat jumping daily will find a loose screw faster than you will.
Best Materials for DIY Cat Shelves
I didn’t lab test every bracket brand on the market, so the weight ratings below come from manufacturer specifications, and the scratch material comparison is based on what I’ve watched Mimi actually choose over five months of daily use.
Brackets: Visible L-Brackets vs. Hidden Rod Systems
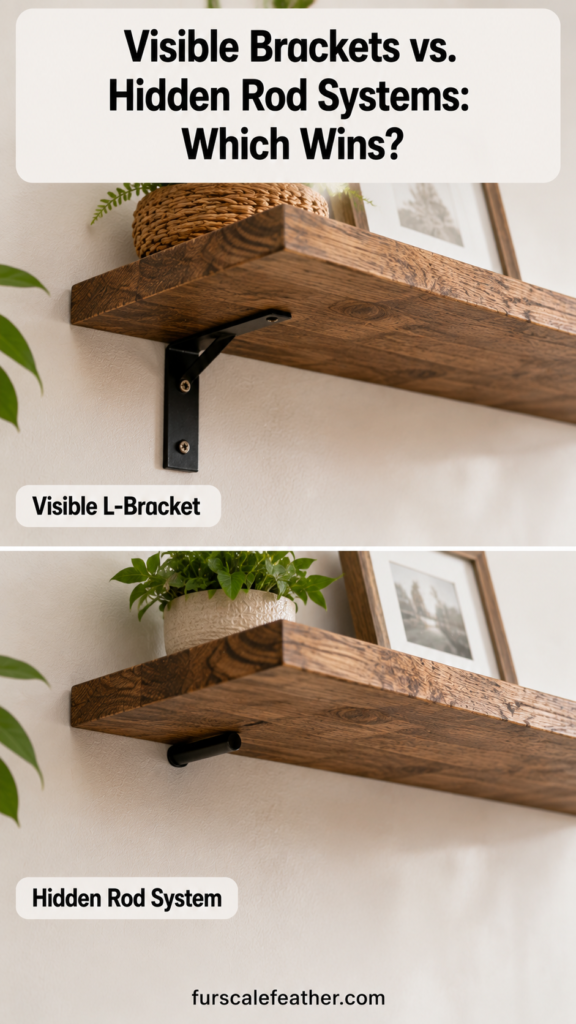
Visible L-brackets
- Pros: typically 6 to 10 dollars for a pack of four, combined ratings up to 160 pounds, install in under 15 minutes with no routing required.
- Cons: visible hardware breaks up the clean look this article is going for.
Hidden rod-style brackets
- Pros: completely invisible once installed, rated 50 to 65 pounds per stud depending on size, gives the shelf a polished, built-in appearance.
- Cons: costs more per shelf, usually 30 to 50 dollars, and requires a routed channel with little room for measurement error.
Winner: for any shelf in a room guests actually see, hidden rod brackets are worth the extra cost and setup time. I still use plain L-brackets on the utility room shelf where nobody but Mimi sees it.
Scratch Surface: Sisal Rope vs. Carpet
Sisal rope, 4mm natural fiber
- Holds up well to daily scratching and resists fraying for months, but has a rougher texture that some cats avoid on a landing surface.
Outdoor carpet remnant
- Softer landing texture, better suited to a perch a cat naps on, but the similar feel can encourage scratching on household carpet elsewhere.
Winner: sisal rope on edges and step fronts where cats scratch on the way up, carpet on the top resting shelf where cats land and settle in. Mimi uses each material differently, which is why I split them across the set rather than picking one for everything.
Turning Wall Shelves Into Real Enrichment for Indoor Cats
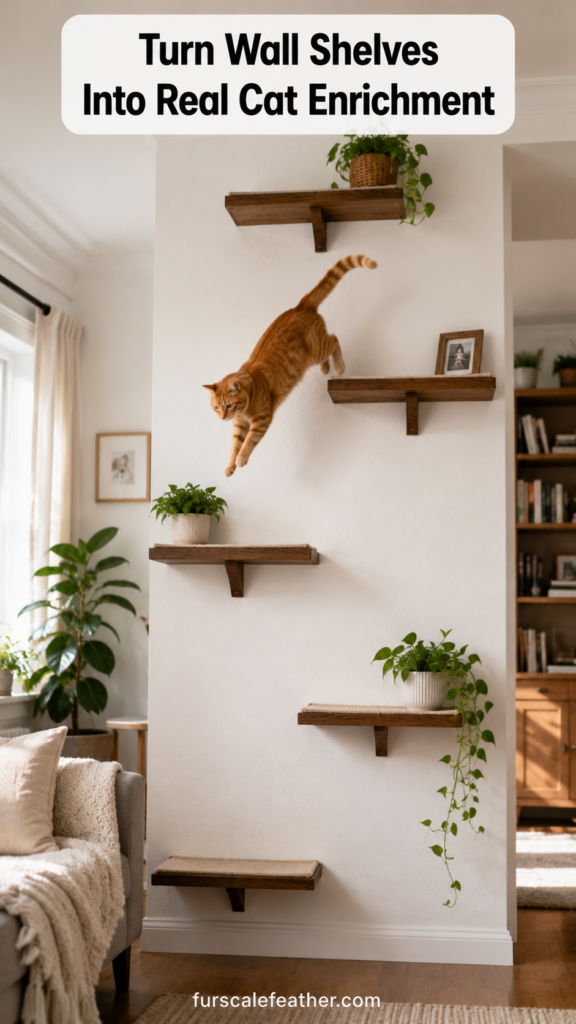
A shelf route isn’t just decor. It’s one of the simplest DIY cat enrichment ideas you can build for the cost of scrap wood and a few brackets. Vertical space gives an indoor cat a way to survey the room, choose their own resting height, and get physical exercise without needing a walk outside. Veterinary behavior resources commonly point to vertical territory as one of the easiest forms of mental stimulation for indoor cats, since it lets a cat patrol and observe the way it naturally would outdoors.
My mistake early on was building every shelf at the same height, which gave Mimi a place to sit but nothing to actually climb. Once I staggered the heights into a real path, she started using the shelves for 20 to 30 minutes at a stretch instead of walking past them without stopping.
If you’re building this as cat enrichment on a budget, rotate a toy or a few treats onto a different shelf each day. It’s a small change that keeps a static structure feeling new and helps with preventing boredom in indoor cats who spend most of the day alone.
Questions People Usually Ask
How much weight should DIY cat wall shelves support? Aim for at least 50 pounds per mounting point, even though most cats weigh far less. The extra margin accounts for the force of a jump rather than a cat standing still, and it keeps the shelf from loosening over months of daily use.
Do I need to drill into a stud for every shelf? Any shelf your cat will jump onto directly should be anchored into a stud or use anchors rated for at least 50 pounds. A low, resting-only shelf with light traffic can sometimes get by on heavy-duty drywall anchors, but studs are the safer default.
How far apart should cat wall shelves be spaced? Most cats comfortably jump gaps of 12 to 18 inches vertically. Wider gaps start to discourage use, and gaps under 12 inches can end up feeling more like stairs than a climbing route.
What’s the cheapest way to build cat wall shelves? Basic pine boards with visible L-brackets is the lowest-cost route, often under 15 dollars per shelf including screws. You lose the fully hidden hardware look, but the shelf itself works just as well.
Will wall shelves stop my cat from scratching furniture? Not entirely on their own, but wrapping shelf edges or a landing surface in sisal rope gives cats an appealing scratch option along their regular route. In our case it noticeably reduced how often Mimi went for the couch arm, though it didn’t stop it completely.
Five shelves later, Mimi has a real route across our living room wall, and the carpet-topped perch by the window is still her favorite spot most afternoons. Start with two or three shelves, mounted into studs and spaced 12 to 18 inches apart, before committing to a full staircase design. Test every shelf with your own weight before your cat ever steps on it, and check the screws again after the first month of regular jumping. If your cat ignores the shelves at first, try moving a treat or toy onto the highest one for a few days before assuming the design didn’t work.
Disclosure: This post reflects a personal DIY project using my own cat, Mimi, as the test case. Bracket and rope weight ratings are drawn from manufacturer specifications rather than independent lab testing.
For any cat showing sudden loss of appetite, reluctance to jump, or signs of pain when climbing, check in with a veterinarian rather than assuming it’s a preference issue with the shelves.