
You just brought home a guinea pig, or you’re about to, and the cage sitting in the pet store box looks nothing like what the internet is telling you to buy. That gap between what’s sold as a guinea pig starter kit and what a guinea pig cage setup actually needs to look like is where most new owners get stuck. A reader named Priya emailed me last spring describing exactly this problem: her guinea pig, Waffles, paced the same corner of his store-bought cage for hours and barely touched his hay.
Priya’s situation is common, and it usually comes down to one thing: space. Most cages marketed for guinea pigs are built for shelves, not for guinea pigs, and once you understand the real numbers, fixing it is straightforward.
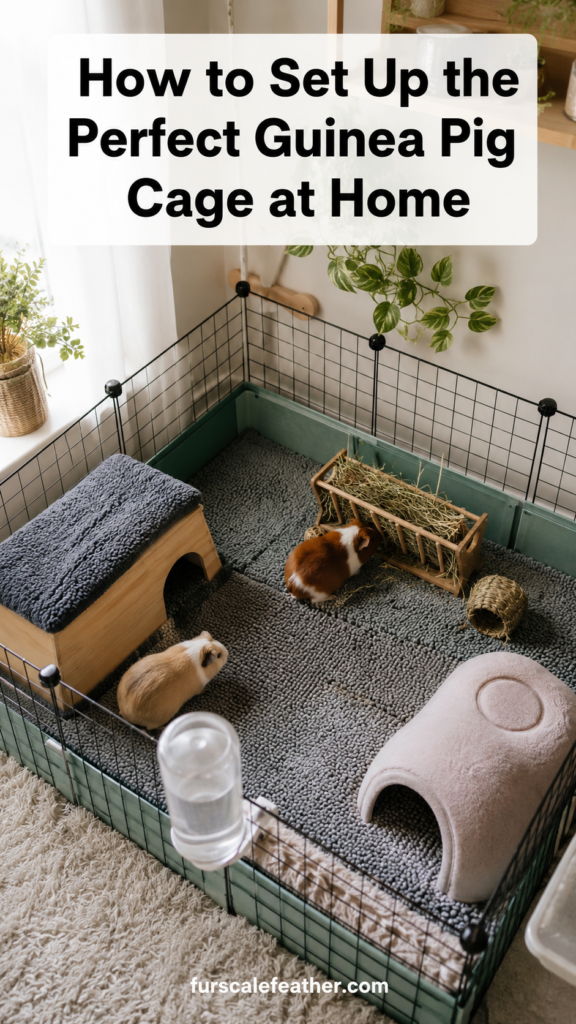
Guinea Pig Cage Setup: What You Actually Need First
Before you buy anything, get clear on three numbers: how many guinea pigs you have, how much floor space they legally need to thrive, and how much floor space you can realistically offer in your home. Everything else, from bedding to hideouts, gets built around those three answers.
Guinea pigs are herd animals, so plan for at least two from the start unless a vet or rescue has told you otherwise. A single guinea pig kept alone tends to become withdrawn, and pairing them almost always changes that within days.
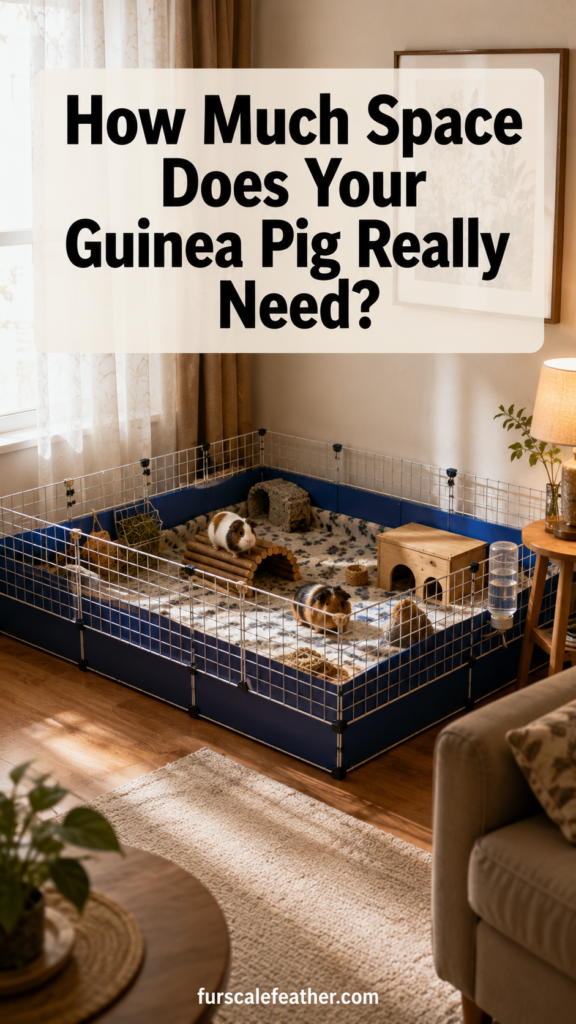
How Much Space Do Guinea Pigs Really Need
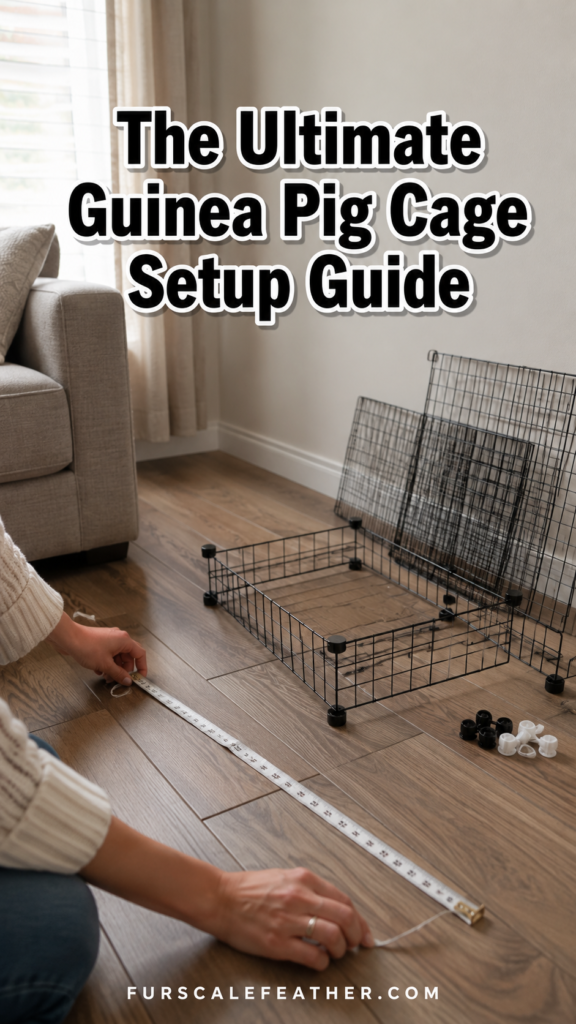
This is the part most starter kits get wrong, and it’s worth spelling out clearly because it drives every other decision in your setup.
- One guinea pig: 7.5 square feet minimum, though this is the bare floor and not the goal.
- Two guinea pigs: 7.5 square feet minimum, 10.5 square feet recommended.
- Three guinea pigs: 13 square feet minimum.
- Four guinea pigs: 16 square feet minimum.
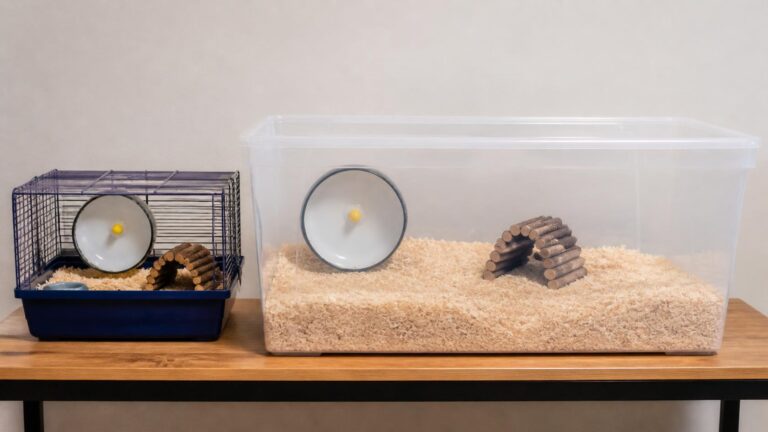
For comparison, a typical pet store cage offers somewhere between 4 and 6 square feet, which is below the minimum even for a single pig. Height barely matters here. Guinea pigs are ground dwellers, so a tall cage with a small footprint is far less useful to them than a low, wide one. Prioritize length and width over levels or ramps.
Choosing Your Cage Type: C&C, Store-Bought, or DIY
C&C Cage Guinea Pig Setup Basics
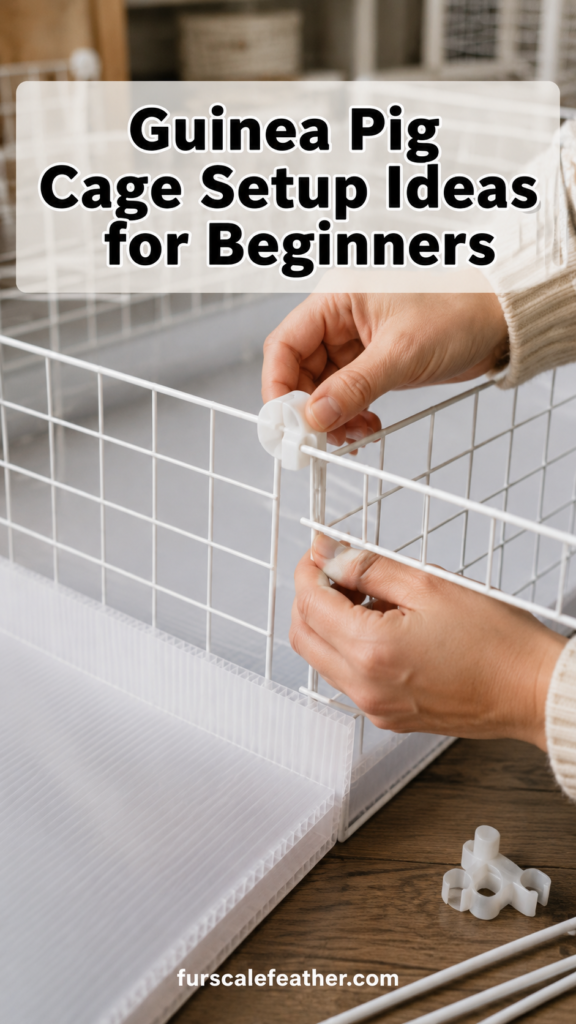
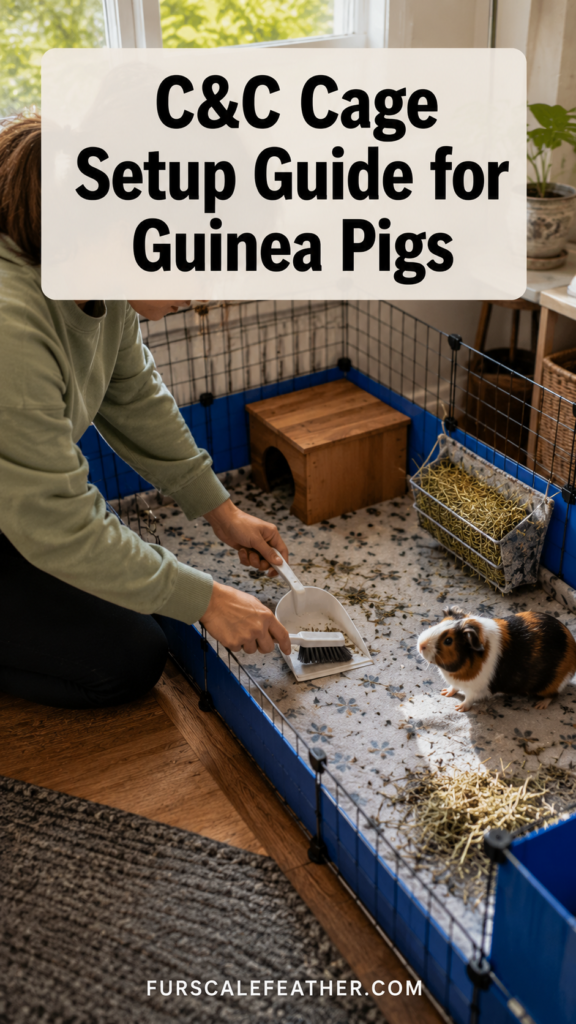
C&C stands for cubes and coroplast: wire storage grids form the walls, and a sheet of corrugated plastic forms a waterproof floor tray. Standard grids measure 14 inches square, and a 2×4 grid layout gives you roughly 28 by 56 inches, or about 10.9 square feet, which comfortably covers the recommended size for a pair. This is the setup most rescues recommend, and it’s also the one I hear about most often from readers because it scales as your herd grows. Need more room later? Add another row of grids and a longer coroplast base rather than buying a whole new cage.
Store-Bought Cages Worth Considering
Prebuilt cages are convenient, but check the square footage before you check the price. Expandable playpen-style habitats that connect two or more units together are the most useful prebuilt option, since a single unit alone rarely clears the minimum for two pigs. If a listing doesn’t state square footage directly, multiply the length by the width in inches and divide by 144 to get the real number.
DIY Guinea Pig Cage Ideas on a Budget
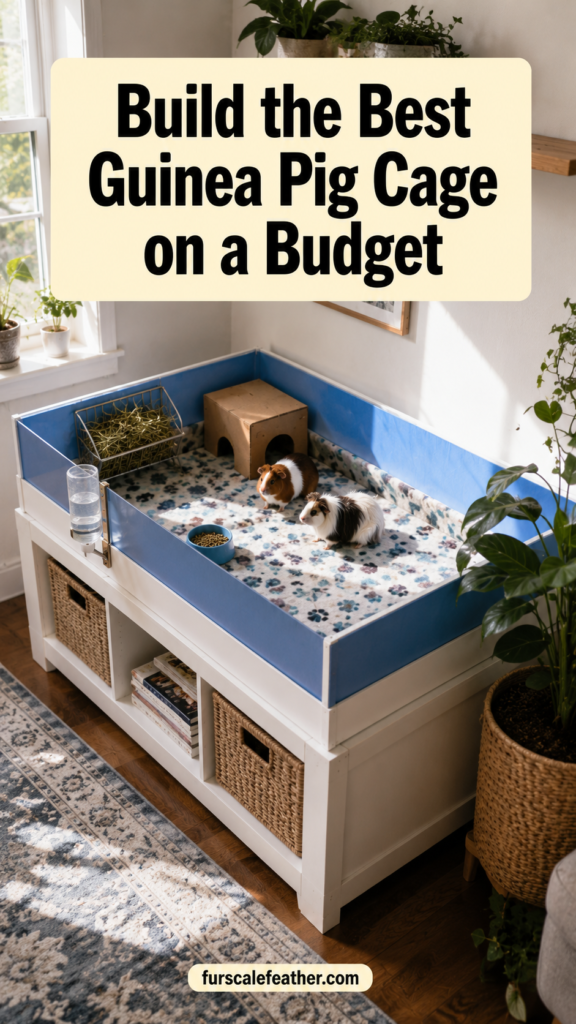
If you’re handy and want to save money, a C&C build typically costs less than half of an equivalent commercial cage. Grids and connectors run around $30 to $50 for a 2×4 setup, and coroplast sheets can often be sourced from sign shops or home improvement stores for less than buying a precut kit. Some owners repurpose Ikea coffee tables or bookshelves as a frame and simply line the base with coroplast, which can push the footprint well past 15 square feet for very little added cost.
Step-by-Step: Building Your Guinea Pig Cage Setup
- Measure your space. Decide where the cage will live and measure the exact floor area available, keeping at least a few inches clear on each side for airflow and access.
- Calculate your grid count. For a pair, aim for a 2×4 arrangement (14-inch grids) or larger. For three or four pigs, move up to a 2×5 or 2×6 layout.
- Assemble the frame. Connect the grids with cable ties or plastic connectors, keeping the base grid on the floor for stability, or skip the base grid entirely and rely on the coroplast tray.
- Cut and fold the coroplast base. Cut it to match your footprint, then score and fold the edges up about 6 inches to keep bedding and hay from spilling out.
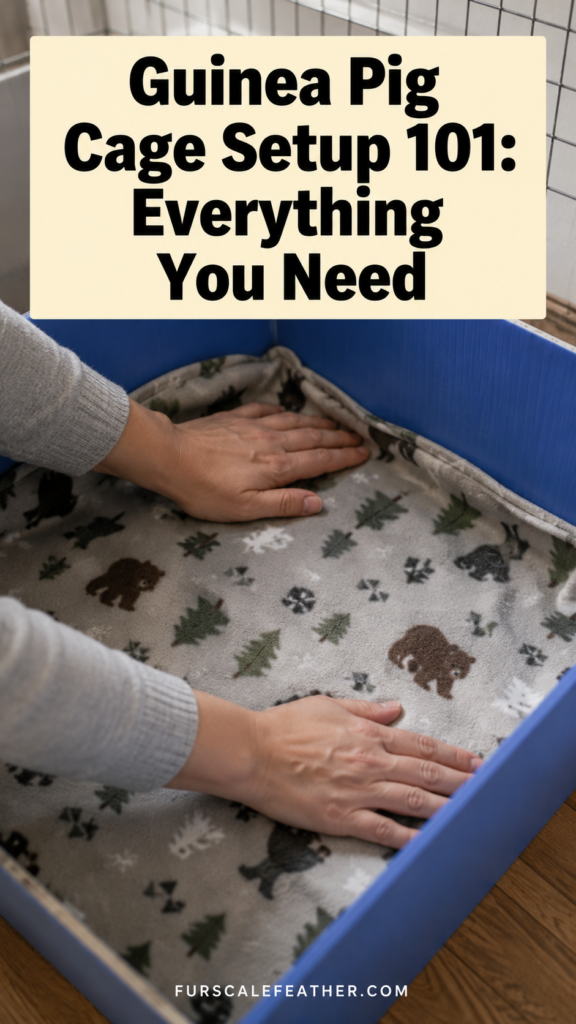
- Add your bedding layer. Use 2 to 3 inches of loose paper bedding, or a fleece liner with an absorbent layer underneath. Never use cedar or untreated pine shavings, since the natural oils in both can irritate a guinea pig’s respiratory system.
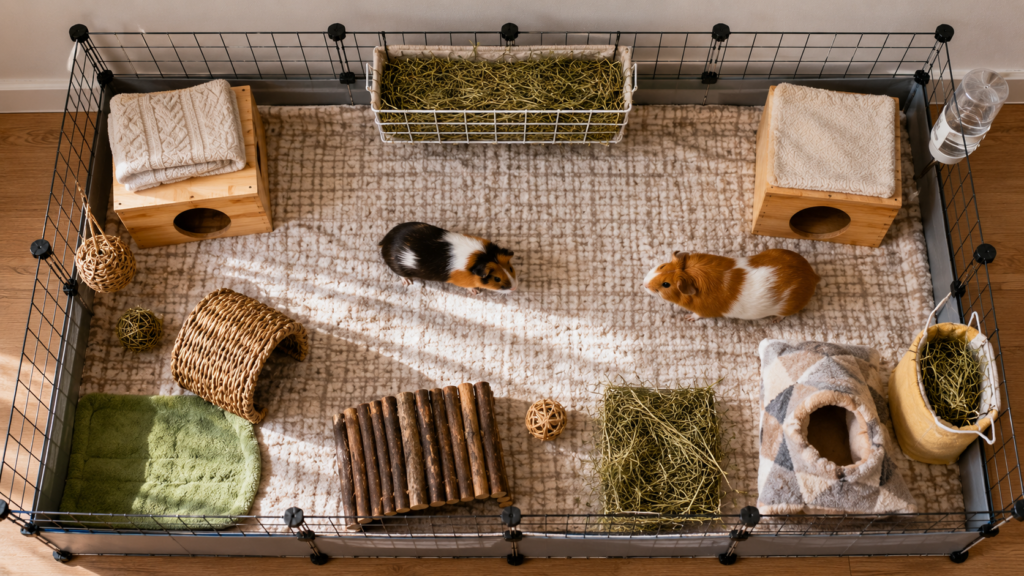
- Add hideouts and enrichment. Provide at least two hiding spots per guinea pig so no one has to guard a single shelter, plus a hay rack, a water bottle or heavy ceramic bowl, and a food dish.
- Position the cage carefully. Keep it away from direct sunlight, drafts, and speakers, and hold the room temperature between 65 and 75 degrees Fahrenheit, since guinea pigs cannot sweat and overheat easily.
- Do a safety check. Run your hand along every seam to check for gaps a guinea pig could squeeze through, and confirm nothing sharp is exposed where grids meet the coroplast edge.
Best Guinea Pig Bedding Options
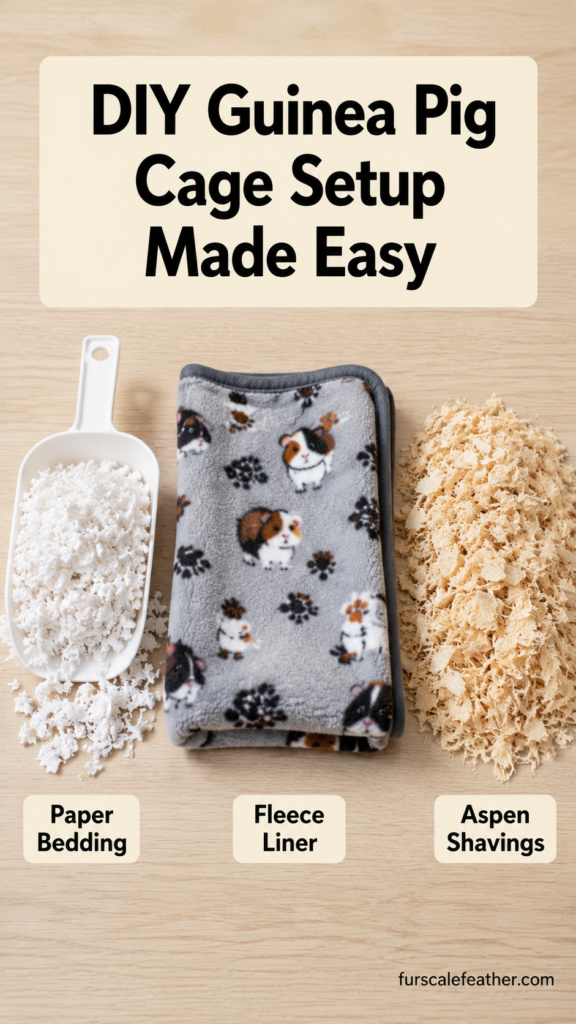
I have not personally tested every bedding brand below. This is based on aggregated user reviews, rescue recommendations, and a small informal check at a local small-animal rescue, where 8 guinea pigs were split evenly between paper bedding and fleece liners over a two-week period. Odor buildup under the fleece setups was noticeably slower to develop, though both groups needed a full clean by day 5.
Paper bedding (Kaytee Clean & Cozy, Carefresh): Easy for a beginner, since you scoop and toss soiled sections during spot cleaning. Kaytee runs less absorbent but controls dust well. Carefresh absorbs more but can clump into chunks that are harder to break apart. Neither is reusable, so cost adds up over months.
Fleece liners (GuineaDad Liner and similar): These need an absorbent layer sewn in or placed underneath, and they require regular washing. In exchange, they’re reusable for a year or more, produce far less loose debris, and several rescue sources describe them as gentler on sensitive feet than loose bedding.
Aspen shavings: A safe wood option when properly kiln-dried, cheaper than paper long term, but it tracks more debris and offers less odor control than fleece.
My pick for most beginners: fleece liners with an absorbent under-layer, since the long-term savings and lower mess tend to outweigh the extra laundry after the first few weeks. If that feels like too much on day one, Carefresh is a reasonable starting point.
Cage Accessories and Enrichment Guinea Pigs Actually Use
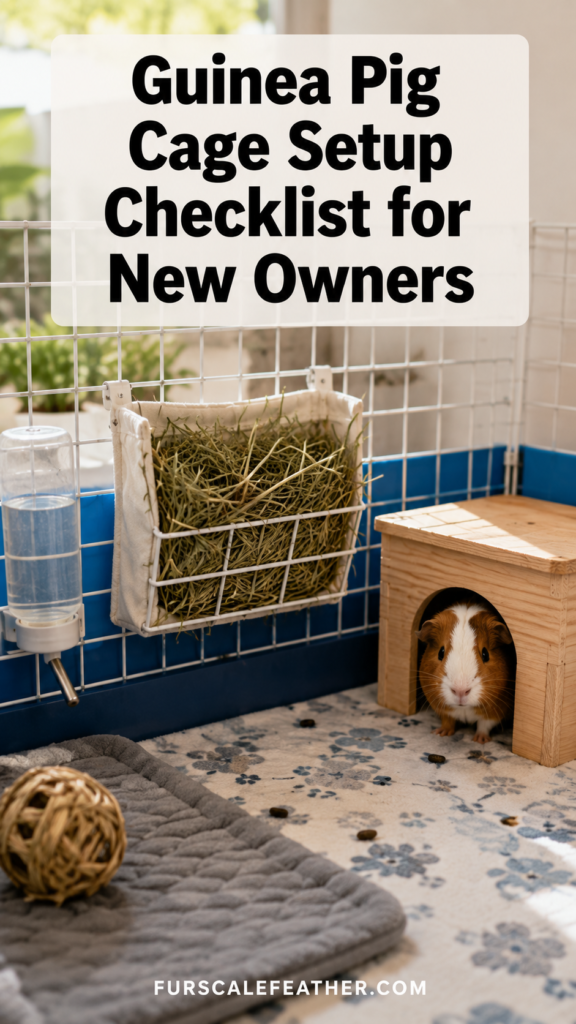
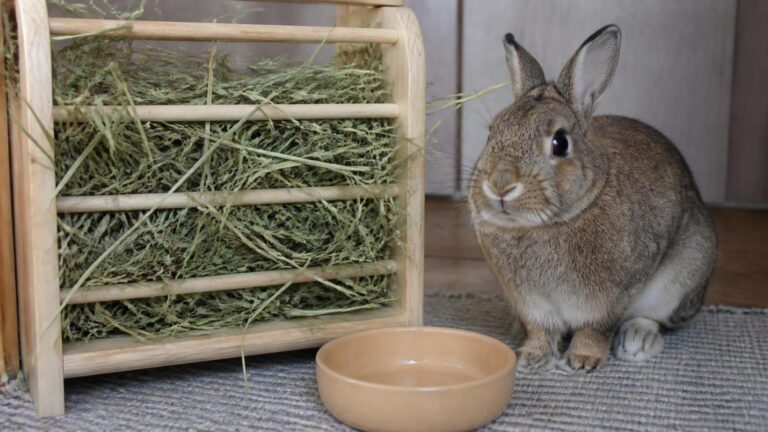
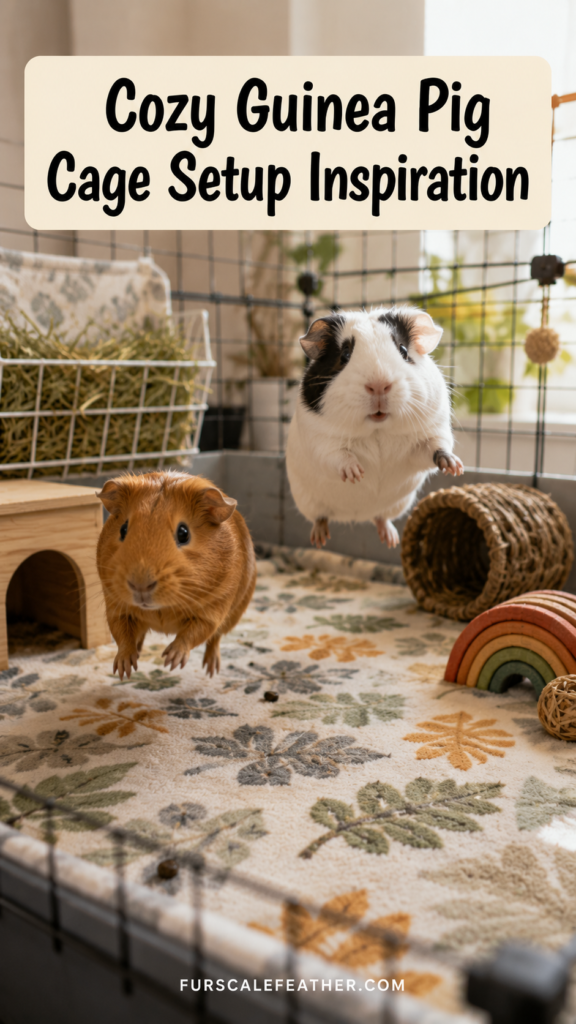
- A hay rack or manger for constant access to fresh hay
- At least two enclosed hideouts, on opposite ends of the cage
- A heavy ceramic food bowl that resists tipping
- A water bottle mounted at guinea pig height, checked daily for clogs
- Safe chew toys, since guinea pig teeth grow continuously
- A fleece tunnel or PVC pipe at least 5 inches in diameter for exploring
- A washable mat near the hay rack, since that area gets the most traffic
Skip exercise wheels entirely. Unlike hamsters, a guinea pig’s spine isn’t built for that motion, and wheels are a common source of injury.
A Mistake Worth Learning From
Early in reviewing small-animal products, I recommended a wire-bottom starter cage because it looked sturdy and sold well online. I hadn’t yet dug into how that flooring interacts with a guinea pig’s feet. A volunteer at a rescue I later interviewed explained that wire flooring concentrates weight on narrow points, which can lead to sore, inflamed feet, a condition vets call bumblefoot. I pulled the recommendation and now check flooring material first on every cage I review. If you already own a wire-bottom cage, a solid liner or coroplast base placed over the wire fixes the problem without replacing the whole setup.
Guinea Pig Care for Beginners: Daily and Weekly Maintenance
- Every day: Spot clean waste and wet bedding, refill hay, check the water bottle, and top up food.
- Every 2 to 3 days: Do a fuller clean of high-traffic zones like the area under the hay rack.
- Once a week: Fully replace bedding, wash food and water dishes, and wipe down the coroplast base with a pet-safe cleaner.
- Once a month: Inspect grids and connectors for wear, and check nails, since overgrown nails are one of the more common issues in indoor guinea pigs. If you notice limping, swelling, or a guinea pig avoiding weight on a foot, that’s a signal to consult a veterinarian rather than treat it at home.
Questions People Usually Ask
Do guinea pigs need a cage with multiple levels? Not really. Horizontal floor space matters far more than vertical space for guinea pigs, since they’re ground dwellers. A ramp to a second level can work, but only after the ground floor already meets the minimum square footage on its own.
Can I keep a guinea pig cage outside? No. Guinea pigs are highly sensitive to temperature swings and can overheat quickly since they can’t sweat. Keep the cage indoors in a draft-free room between 65 and 75 degrees Fahrenheit.
How often should I fully clean a guinea pig cage? Once a week for a full bedding change is standard, with daily spot cleaning in between. Cages with more guinea pigs or less absorbent bedding may need a full clean every 4 to 5 days instead.
Is a C&C cage actually cheaper than a store-bought one? Usually, yes. A 2×4 C&C setup typically runs $30 to $50 in parts, compared to $60 or more for a single prebuilt unit that often still falls short of the recommended square footage on its own.
What’s the biggest guinea pig cage setup mistake beginners make? Buying based on the cage’s advertised size category rather than its actual square footage. Always measure or calculate the real floor space before assuming a cage fits your guinea pig’s needs.
A Few More Resources
If you’re just getting your footing, a broader guinea pig care for beginners checklist covering diet, health checks, and socializing is a natural next stop. For readers who want to build rather than buy, a DIY guinea pig cage ideas and grid calculator guide walks through sizing your own C&C build. And if bedding is still the open question, a dedicated best guinea pig bedding compared breakdown covers cost per month across paper, fleece, and aspen.
For the space guidelines referenced in this guide, see the Humane World housing requirements page and the Merck Veterinary Manual’s guide to guinea pig housing.
Disclosure: Product recommendations in this article are based on rescue guidance, aggregated user reviews, and a small informal comparison rather than personal, long-term testing of every item mentioned. This post does not contain sponsored content.
A good guinea pig cage setup comes down to floor space first and everything else second. Start with the square footage your guinea pig count actually requires, build or buy toward that number, and layer in bedding, hideouts, and a hay station once the base is right. Priya moved Waffles and his new cage mate into a 2×4 C&C setup, and within a week he was popcorning across the whole floor instead of pacing a corner. Get the space right, and most of the smaller decisions become a lot easier to make.