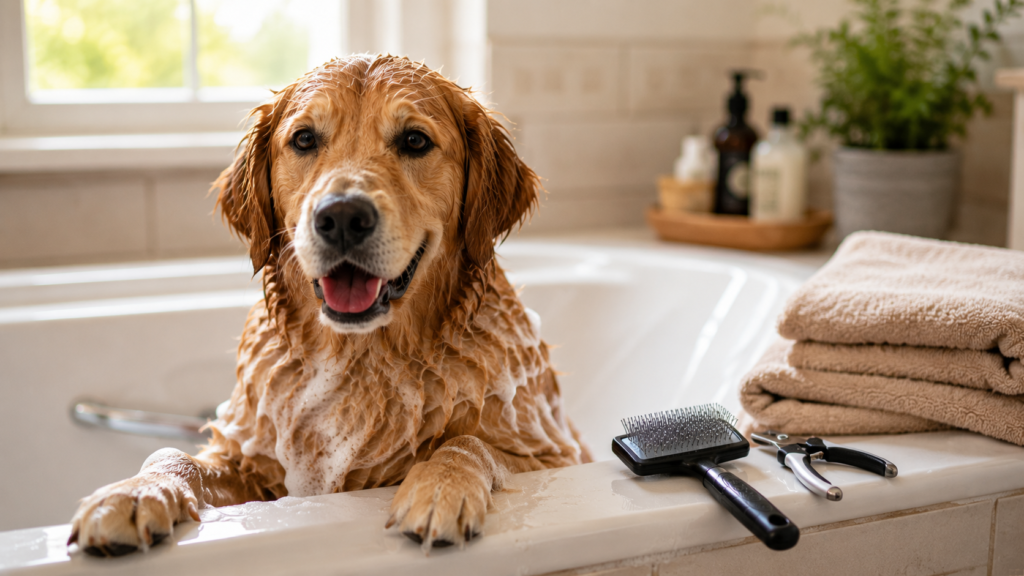

Rosie is standing in six inches of lukewarm water in my bathtub, refusing to move, while I try to remember why grooming her myself seemed like a good idea. That was two years ago. Today it takes about 35 minutes start to finish, and I have not paid for a professional groomer since. If you are trying to figure out how to groom a dog at home without turning your bathroom into a disaster, this guide covers the tools, the steps, and the mistakes I made so you can skip them.
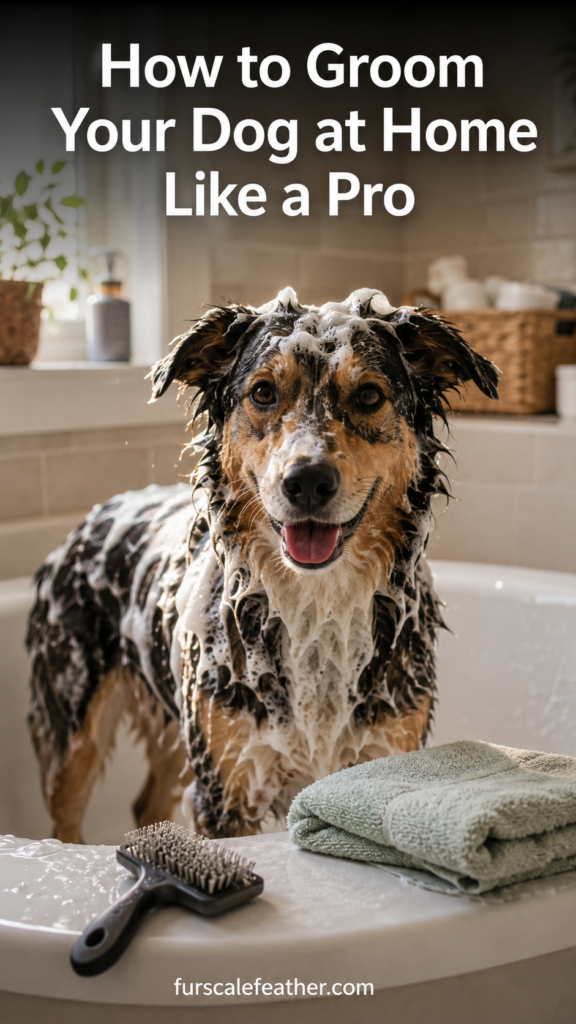
How to Groom a Dog at Home: The Basics
Home grooming comes down to four repeatable tasks: brushing, bathing, nail trimming, and coat maintenance around the ears, paws, and sanitary areas. You do not need a grooming table or a dryer that costs more than your actual dog. You need the right brush for your dog’s coat type, a shampoo that will not dry out their skin, sharp nail clippers, and a routine you actually stick to.
The biggest shift for me was realizing grooming is not one big monthly event. It is small five to ten minute sessions spread across the week. Rosie, a short-haired mixed breed, gets a quick brush twice a week, a bath every four to six weeks, and a nail check every two weeks. That rhythm keeps shedding, matting, and overgrown nails from becoming a project.
Dog Grooming Kit Essentials You Actually Need
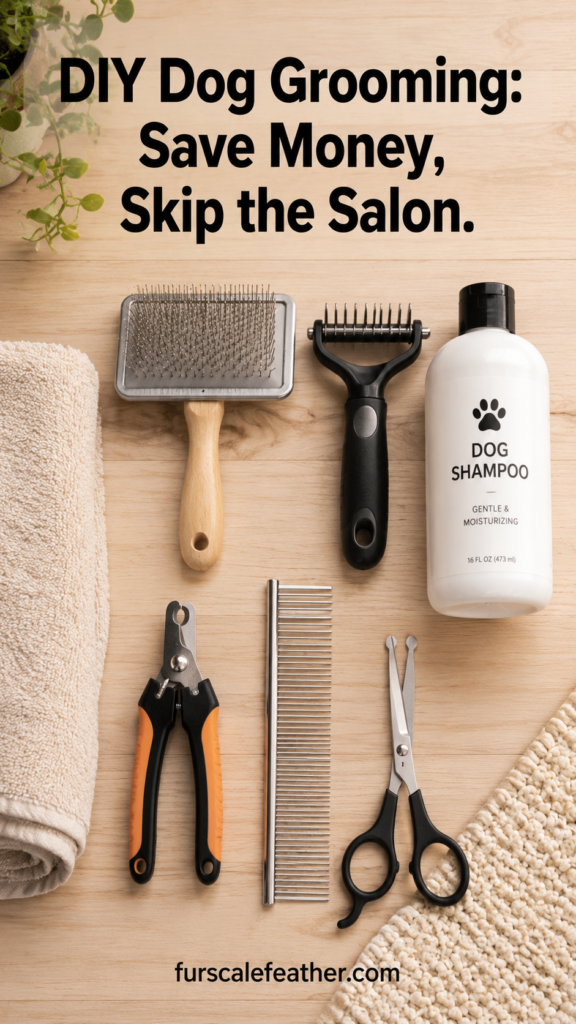
You do not need everything sold in the grooming aisle. Here is what earns a spot in a home dog grooming kit.
- A slicker brush for removing loose hair and light tangles from the topcoat
- An undercoat rake or deshedding tool if your dog has a double coat (think Labs, Huskies, Corgis)
- A metal comb for checking behind ears and in leg feathering for hidden mats
- Dog-specific shampoo and conditioner matched to your dog’s skin needs
- Nail clippers or a grinder, plus styptic powder in case you nick the quick
- Cotton balls and a dog-safe ear cleaner
- Blunt-tip scissors for trimming paw fur and sanitary areas
- A few absorbent towels and, if your budget allows, a pet dryer
You do not need to buy all of this on day one. Start with a brush suited to your dog’s coat and a decent nail clipper. Add the rest as you find gaps in your routine.
Dog Brush Types, Explained
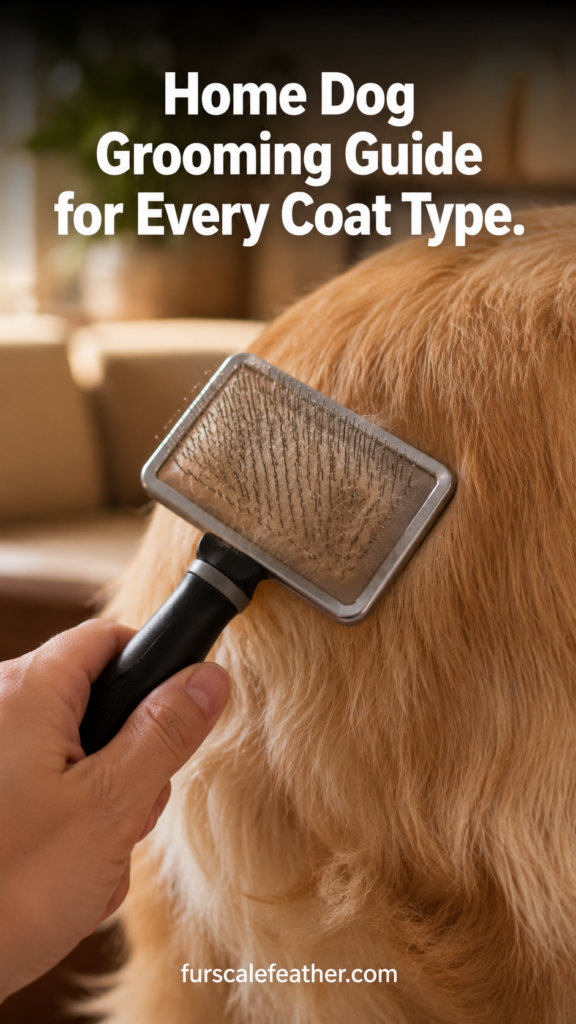
Using the wrong brush is one of the fastest ways to frustrate your dog for no reward.
- Slicker brushes suit most coat types and remove surface tangles and loose fur.
- Bristle brushes suit short, smooth coats like a Beagle or a Boxer.
- Undercoat rakes reach the dense underlayer on double-coated breeds without tugging the topcoat.
- Pin brushes work better on long, silky coats like a Yorkie or Maltese.
- Deshedding combs pull loose undercoat hair without cutting the healthy topcoat.
How Often to Groom a Dog
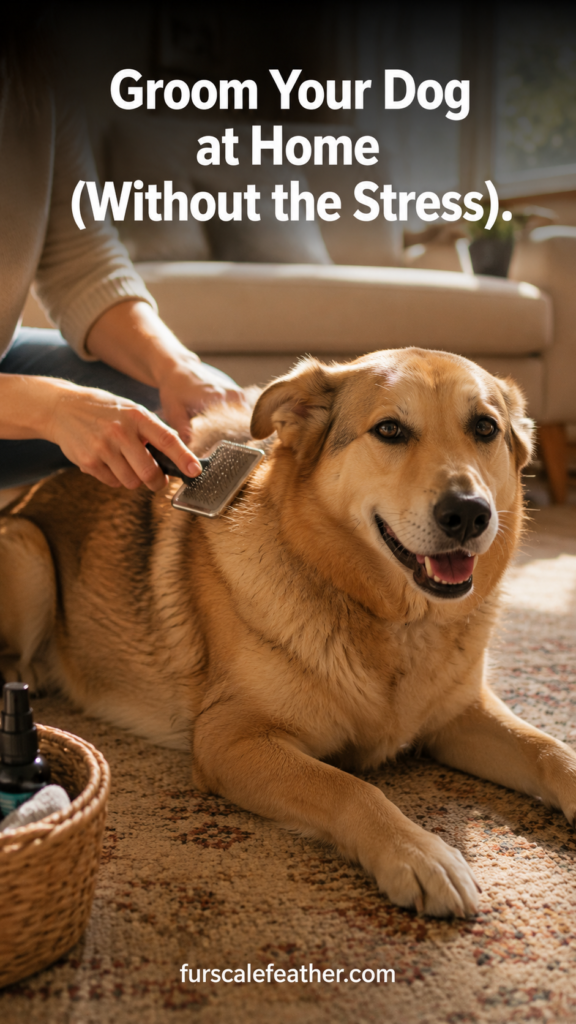
There is no single answer here. It depends almost entirely on coat type.
- Short, smooth coats (Beagles, Boxers, Labs): brush weekly, bathe every four to eight weeks
- Double coats (Huskies, Corgis, German Shepherds): brush two to three times a week, more during seasonal shedding
- Long or silky coats (Yorkies, Shih Tzus, Cocker Spaniels): brush daily or every other day to prevent matting
- Curly or wool coats (Poodles, Doodles): brush every two to three days and plan for a trim every six to eight weeks
Nail trims are usually every three to four weeks for most dogs, though it varies with how much walking your dog does on hard surfaces, which naturally files nails down.
Step-by-Step: Brushing Your Dog’s Coat at Home
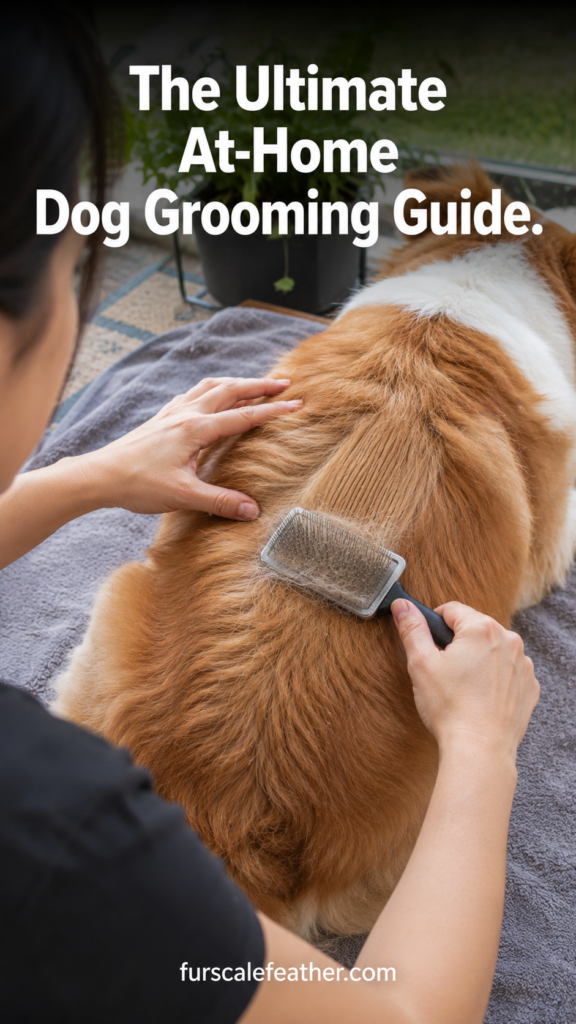
- Start dry, not wet. Brushing a wet, tangled coat sets mats instead of removing them.
- Work in sections. Go from the head back, lifting the coat in layers so you reach the undercoat, not just the surface.
- Use short, gentle strokes in the direction the hair grows. Long dramatic strokes look satisfying but miss tangles close to the skin.
- Check the trouble spots. Behind the ears, under the front legs, and around the collar area mat fastest.
- Reward as you go. A few treats during the session teach your dog that brushing is not a punishment.
- Finish with a comb pass to catch anything the brush missed.
This is where I made my biggest mistake early on. I used a slicker brush on Rosie’s coat with too much pressure, thinking harder strokes meant better results. Within a few sessions her skin looked irritated and she started dodging the brush entirely. A quick call to our vet confirmed it was mild brush burn, nothing serious, but avoidable. Switching to lighter pressure and shorter strokes fixed it within a week, and she stopped flinching when the brush came out.
Bathing and Drying Tips
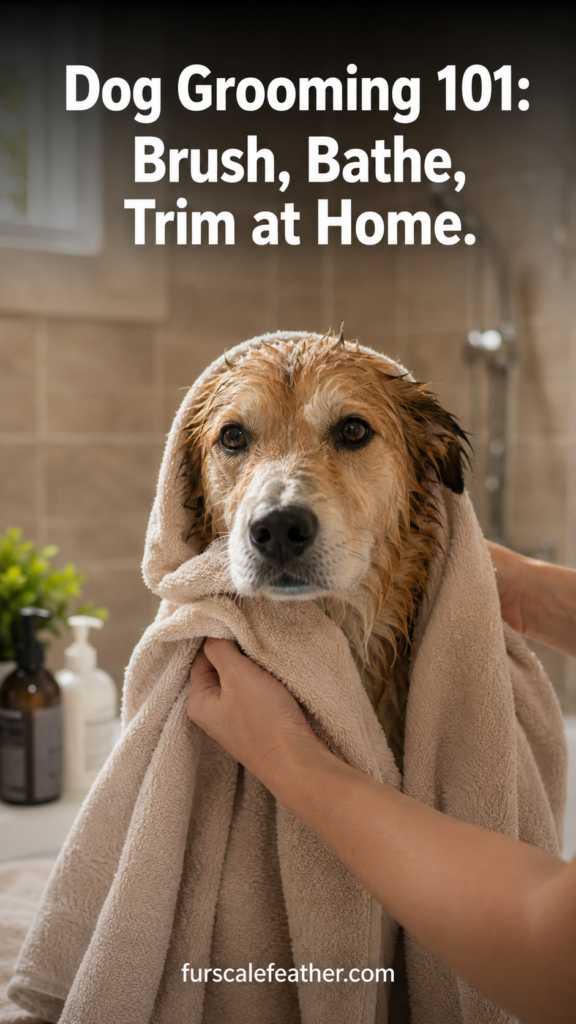
- Brush your dog fully before the bath. Water tightens existing tangles into mats.
- Use lukewarm water and a dog-specific shampoo. Human shampoo disrupts a dog’s skin pH and can cause dryness or irritation.
- Work shampoo in starting at the neck, moving down and back, avoiding the eyes and inside the ears.
- Rinse until the water runs completely clear. Leftover shampoo residue is one of the most common causes of post-bath itching.
- Squeeze out excess water with a towel before letting your dog shake.
- Air dry or use a pet dryer on low heat. Human hair dryers run hot enough to burn a dog’s skin if held too close.
Trimming Nails, Ears, and Paw Fur Without a Meltdown
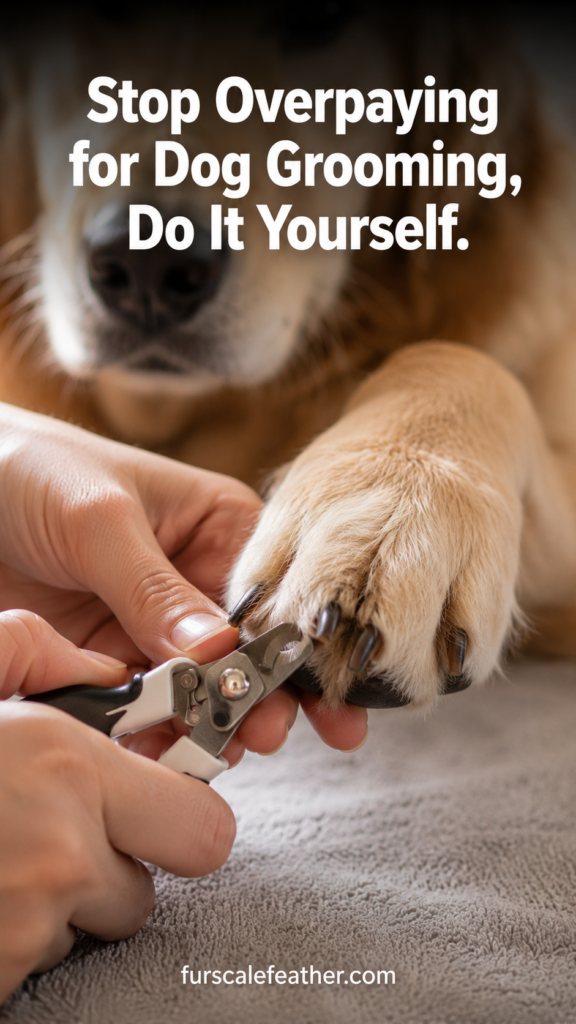
Nail trims cause more anxiety than almost any other grooming task, for dogs and owners both. Here is the approach that finally worked for Rosie after months of struggle.
- Trim after a walk, when nails are slightly softer and your dog is calmer.
- Hold the paw gently and trim only the tip, a small sliver at a time.
- Stop well before you reach the pink quick on light nails. On dark nails, trim in small increments and look for a slightly softer, chalky center as your signal to stop.
- Keep styptic powder within reach in case you nick the quick. A small amount stops the bleeding within a minute or two.
- For paw fur, use blunt-tip scissors to trim hair between the pads flush with the paw, which improves traction and reduces mud tracking.
- For ears, use a dog-safe cleaner on a cotton ball and wipe the visible folds only. Never insert anything into the ear canal.
If your dog’s ears smell off, look red, or your dog is shaking their head repeatedly, that is a sign to see a veterinarian rather than something to handle with home grooming.
Best Dog Grooming Tools for Home Use
I have personally used the first two tools below on Rosie over the past two years. For the clippers, I have not tested every model myself, so that recommendation is based on groomer input and consistently positive owner reviews rather than my own trial.
Best Deshedding Tool: FURminator deShedding Tool
This is the tool that changed our bathroom floor situation. On Rosie, a moderate shedder, one session pulled out more loose undercoat than three previous sessions with a standard slicker brush combined.
- Pros: Reaches the undercoat effectively, noticeable reduction in loose hair within one to two uses, comfortable handle
- Cons: Not meant for daily use on sensitive skin, pricier than a basic brush
- Best for: Double-coated or heavy-shedding breeds
Best Everyday Slicker Brush: Hertzko Self-Cleaning Slicker Brush
This is our twice-a-week brush. Retractable pins pull loose fur out, and a push-button base clears the brush in seconds, which matters for quick sessions rather than one long weekend groom.
- Pros: Fast cleanup, gentle enough for frequent use, affordable
- Cons: Less effective than a dedicated deshedding tool on thick double coats
- Best for: Regular maintenance brushing on most coat types
Best Clippers for Trimming: Wahl Bravura Cordless Clippers
Based on groomer recommendations and repeated feedback in owner reviews, this cordless clipper is a common pick for home trims around paws and sanitary areas, thanks to its quiet motor and steady battery life.
- Pros: Cordless convenience, quiet operation, self-sharpening blades
- Cons: Higher upfront cost than corded models, not ideal for full-body clipping on thick coats
- Best for: Paw, face, and sanitary trims rather than full coat clipping
Overall winner: For most home groomers, the FURminator deShedding Tool makes the biggest visible difference for the least effort, especially if shedding is your main frustration.
DIY Dog Grooming Tips That Actually Save Money
- Buy one quality slicker brush instead of replacing a cheap one every few months.
- Groom in short, frequent sessions instead of one long monthly ordeal. It is easier on your dog and on you.
- Keep treats within reach during nail trims and brushing to build a positive association.
- Fold paw trims and ear checks into regular petting time so they stop feeling like a separate event.
- Skip the specialty dog cologne. A good rinse and a fully dried coat solve odor issues better than fragrance does.
When to Call a Professional Groomer Instead
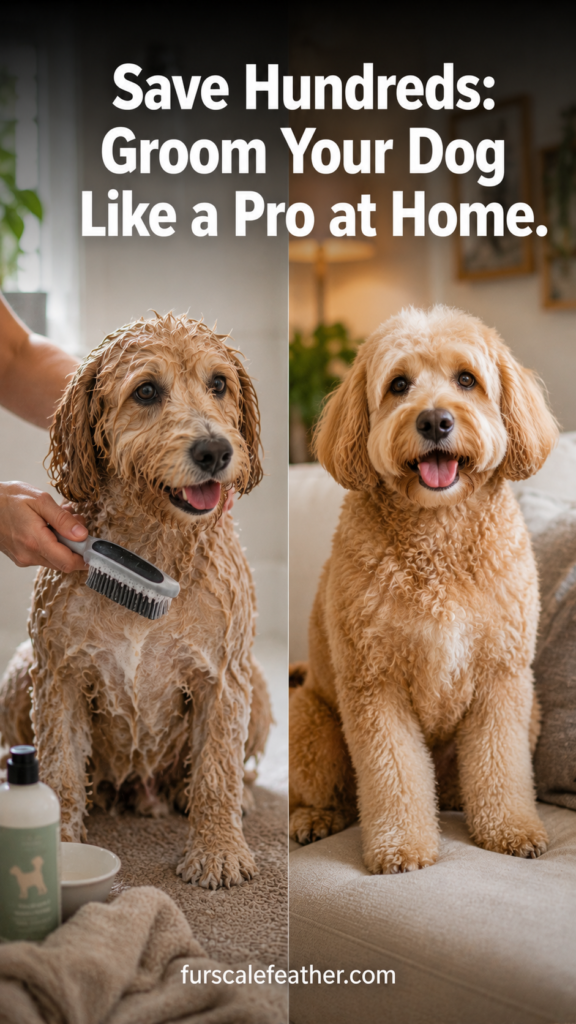
Home grooming covers most routine needs, but a few situations call for a professional: coats matted close to the skin, breeds needing precise breed-standard cuts, skin conditions requiring medicated baths, and dogs who become genuinely distressed rather than mildly annoyed during grooming.
Questions People Usually Ask
How often should I groom my dog at home? Brushing frequency depends on coat type, ranging from weekly for short coats to daily for long or curly coats. Bathing is typically every four to eight weeks unless your dog gets visibly dirty sooner.
What is the best dog grooming kit for a beginner? Start with a slicker brush suited to your dog’s coat, a basic nail clipper, dog shampoo, and blunt-tip scissors. Add an undercoat rake or deshedding tool if your dog has a double coat.
Can I use human shampoo on my dog? No. A dog’s skin has a different pH than human skin, and human shampoo can cause dryness, irritation, or flaking. Always use a shampoo formulated for dogs.
How do I stop my dog from being afraid of nail trims? Trim small amounts often instead of a full trim in one sitting, and pair each trim with treats. If fear persists, a groomer or vet tech can help desensitize your dog gradually.
What should I do if I cut the quick while trimming nails? Apply styptic powder directly to the nail tip and hold light pressure for about a minute. If bleeding does not slow within a few minutes, contact your veterinarian.
Disclosure
This post contains affiliate links. If you buy through them, we may earn a small commission at no extra cost to you. Product picks reflect a mix of personal use on my own dog and, where noted, groomer input and aggregated owner reviews rather than personal testing.
Grooming your own dog is mostly about consistency, not skill. Short, regular sessions with the right brush and a calm approach get you further than an expensive kit used once a month. Start with a brush and a nail clipper, build the habit, and add tools as you find real gaps. Your dog gets a coat that actually looks cared for, and you get your grooming budget back.